
... to this today:
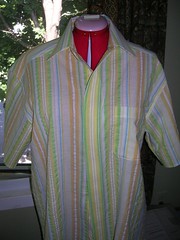
I used to have such a mental block about collars and even though I've been sewing the band facings on by machine for a long time, I still get that "I don't want to do the next step" feeling when it comes to collars. Never mind - they are easy now.
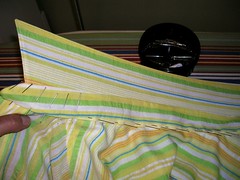
First I sew the collar band to the WRONG side of the body of the shirt. Then I fold up the edge of the facing and pin it carefully over the stitching line I just made on the RIGHT side of the shirt.
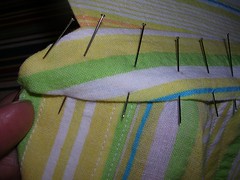
Here's a close-up of one end of the collar band as pinned. It's a little loose looking but once I get it under the sewing machine needle and the needle stuck through all layers to hold it down, I can tweak it a tiny bit here and there and then sew it down.
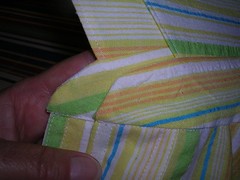
Here is the finished collar band. In the front is the INSIDE of the band and the collar band end behind the other one shows what the band looks like on the outside. You might have to go to Flickr and see them large to get the detail. What I like about this method is that the band never comes apart as it sometimes did with hand stitching. Plus it's nice and tight and flat and if you want, you can put on more rows of topstitching.
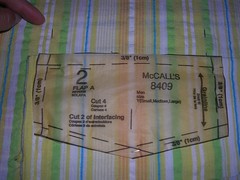
It's so easy to match pocket stripes. Just make marks where the pocket is supposed to go on the shirt (I am pointing to a small pink chalk mark in this photo). Then get a piece of fabric where the stripes line up with the shirt (making sure it is slightly larger than the pocket area). Pin the pocket piece on to the piece of matching fabric, making sure the stitching lines match up and then cut it out. As it turns out, I didn't put a flap on this pocket but the pocket itself was done the same way.
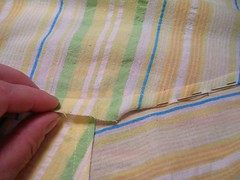
Here's another look at a sleeve flat fell. You can also sort of tell here that this seersucker is quite thin and soft compared to that other one I made that was stiff - and still is after several washings. Anyway, I sewed the sleeve on and then trimmed the part of the seam allowance that belonged to the body of the shirt, allowing me to fold over the seam allowance that belongs to the sleeve. Of course, you have to iron the seam allowances toward the body of the shirt first.
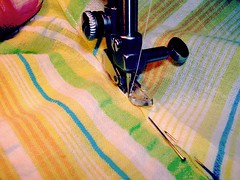
Then I just run along the fold with the zipper foot, taking the pins out as I go.
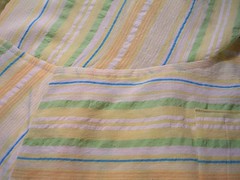
From the right side of the shirt, you can see it makes a nice finish. And you can see the topstitching where I finished the yoke. Almost done.
4 comments:
you are always making great things.
Thanks for sharing them!
Thanks Alejandra! And you're welcome!
Very educational.Thanks for sharing!
Thanks Maja - good luck on your blog too!
Post a Comment