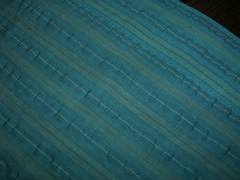
All the other photos wash out the nice turquoise colour so I put this pic in to show the true colour of the fabric.

I was trying to get his shirt made in a hurry, without him knowing and I made as much as an assembly line as I could, pinning all the pieces and then sewing them all in one swoop.
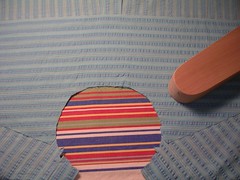
I decided that since I had just made one of these shirts, I would only blog in detail about one thing - this time, the back yoke on his shirt. You cut out two identical pieces for the yoke and sew the both to the back of the shirt. Then you sew the shirt fronts to the front edges of the yoke on the outside. Once you have the pieces sewn together, you turn the shirt inside out and make sure the inside yoke piece lines up perfectly with the outside yoke piece. I iron the pieces together to be extra sure. Then you can turn under the raw edge of the seam allowance on the inside yoke piece so that it barely overlaps the stitching line where you sewed the outside yoke piece to the fronts.
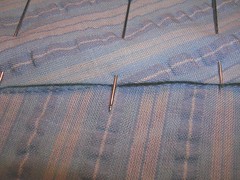
I took a picture of the pinned down overlap and angled the camera so I could look under the overlap a bit. You can see the stitching line.
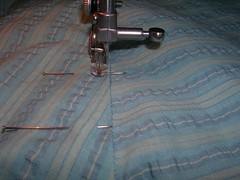
Here I am sewing down the overlap from the inside or wrong side of the shirt. On the Hawaiian shirt, I sewed from the outside because I was conscious the stitching would really show. On this shirt I just threw caution to the wind and stitched from the wrong side.
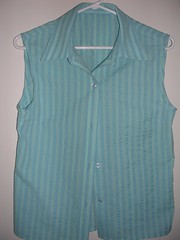
I was sewing on his buttons as he got home last night and managed to have it for him to wear when he got out of the shower. I am posting a photo of my little "bonus" shirt because his is all wrinkled now.
Next up - I am going to try shorts for Peter. I have a very basic, elastic waist shorts pattern that I am going to modify based on his favourite pair of purchased shorts. I am also inspired by this posting of similar shorts just made.
No comments:
Post a Comment