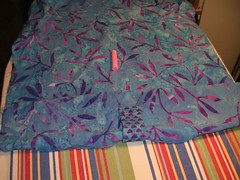
First I sewed the sleeves to the bodice around the armscye, before sewing the underarm seams. This way, it is easier to do the flat fell finish around the armscye. Then I measured where the pattern told me to fold the bottom of the sleeve up and ironed a crease there. When I laid the sleeve out on my ironing board and folded the "cuff" up on the outside like it would be folded when finished, I saw that the tab wouldn't work properly.

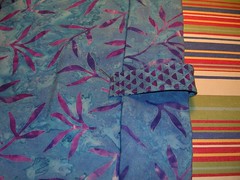
In this shot, I have put a piece of pink chalk to show where the one end of the tab is, secured on the wrong side of the sleeve. I have folded up the "cuff" and you can see that in order to button the tab where it is supposed to be buttoned (up at the other end of the tab), the wrong side of the fabric will show. The pattern called for a 10 cm fold.

In this photo, I have folded the "cuff" up on the inside of the sleeve, about 15 cm, almost all the way to the sewn end of the tab. Then I have folded it to the outside and pinned the tab up to where it would be buttoned. This showed me that I had to make the cuff deeper. I ironed the fold and made a good crease so it would show after I had sewed the underarm seam.

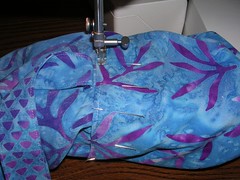
Once I sewed and finished the underarm seam, I folded the "cuff" along the crease, pinned it to the sleeve and sewed around the sleeve. I used my free arm on the sewing machine and held the tab out of the way as I sewed.

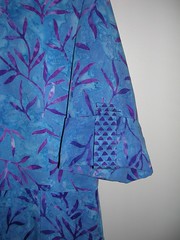
I hung the dress on the door and folded up the sleeve and pinned the tab where it will be buttoned. In the meantime, I also sewed the skirt to the bodice around the waist. Now I have to finish the waist seam and then I can put on the facings and collar.
No comments:
Post a Comment