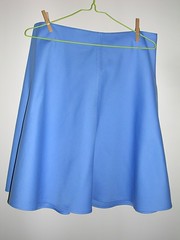
It will go with everything, including of course, the green jacket.
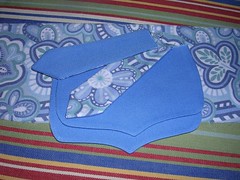
Except for the bands (cuffs and bottom) here are the contrast pieces. I tried doing the topstitching in blue on both top and bobbin threads to see how it would look. I used the tabs as test pieces because they are small and you never really see the undersides of them. I didn't like the way it looked (as I suspected) and so I did the rest of the contrast topstitching with blue on the top and white on the bobbin.

I also did the buttonholes on the flaps and tabs before sewing them to the jacket. I often do this because it's just easier to put them under the buttonholer but couldn't do it with the green jacket because I had not got the buttons yet. In this photo, you can also see the way the topstitching looks on both sides.

I am including this photo of the inside of the back yoke because of how I like to press things really flat. Even though the seam allowances get pressed up, I first press them open and then press them up. One more step but I think it makes the finish worthwhile. I tried taking a photo of the right side with one half only pressed up and the other double pressed but you couldn't see the difference in the photo. Of course, I can tell the difference in real life! Truly. :)
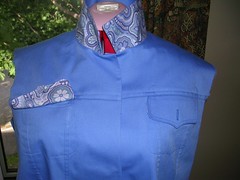
Here is the blue jacket on Rose, about half done, with one pocket flap artfully pinned up to show the contrast.
2 comments:
Hey, that was way fast!
Not really Granny J - I was working on it secretly in the background. :)
Thanx Adrienne!
Post a Comment