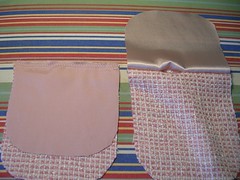
I used a template from another pattern and decided to line the pockets and pipe the edges. I'm using the satin for the lining, not the other stuff I'm using for the skirt. I have left a small gap where the lining is sewn to the pocket to facilitate turn it right side out when it's time.
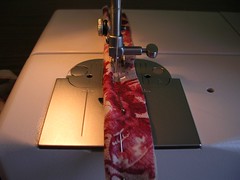
I had to make some piping for around the edges of the pockets. Just sew down the cord wrapped up in the bias tape.
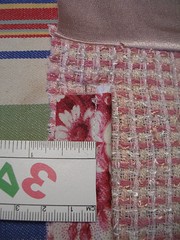
The seam allowances are a tiny bit more than the 5/8 usually used because of the width of the bias tape. I'm not concerned by this little discrepancy. I could always trim it but I think I'll just eyeball it instead.
I have to visualize how the cord will disappear into the pocket (into the seam allowance) once it is turned right side out.
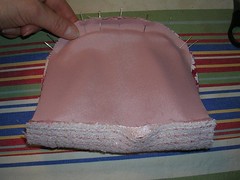
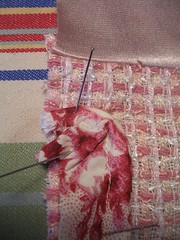
First, I machine basted the piping to the pocket to fix it in place. Then I pulled the lining down to the pocket seam allowance and pinned it together, putting the pins in from the pocket, not the lining side.
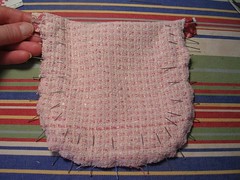
Once I had wiggled the ends of the piping out to where they would be sewn into the seam, I sewed the pocket to the lining form the pocket side because I could use the line of basting I had already put on the fabric as a guide. I sewed slightly inside the basting to make sure the piping was not too loose.
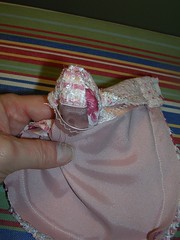
I started to turn the pocket before I realized I had to trim the seam allowance. So I started over, trimmed the excess fabric and then turn the pocket through the little gap I had left.
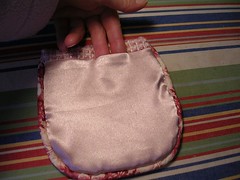
Here's the pocket, turned but unpressed and the gap is still not stitched up. I have been thinking about putting trim on the outside of the pocket, across the top as they do in many of the Chanel suits but I have decided against it, thinking it will be too busy for me. I think the contrast piping is enough. I am still not sure where to place the pockets on the jacket and will have to assemble it enough so I can put it on the dummy and then figure out the best placement.
6 comments:
Julia, I can see that you are having tons of fun with this one. All this silk must be a dream to work with. Hope to see the finished product soon.
Heather
Heather, yes I am having fun! But this one is almost a template because the next one I make, I will have learned from this one.
Oh...I get it. I was very confused about the piping and bias tape, but it looks really good in the finish- thanks for showing us!
Hey Sarah, hopefully when I put the piping around the collar and fronts, it will come to life too.
I just discovered your blog and am not sure how I ever missed it! I look forward to backtracking through past archives as well as following this current fabulous project. I will be adding you to my own blog's list of sewing links as well. Thanks!
Charity
Thanks very much Charity! There are zillions of blogs out there - I'm not surprised you missed some. :)
Post a Comment