You can try turning pieces right side out and then pressing them but you won’t get as sharp an edge if you do. Instead, press as much of the seams open as you can before turning the piece.
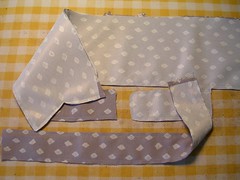
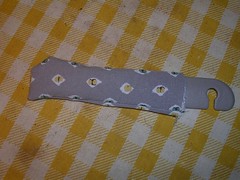
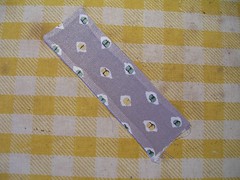
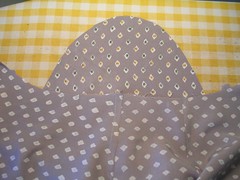
The dress has small tabs on the sleeves that will turn up and button on the outside - more for decoration than anything. I am in the middle of turning one of the tabs right side out, using just my hands at the moment.
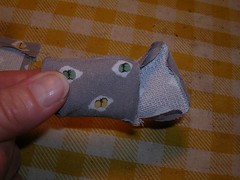
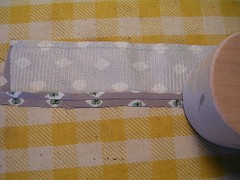
To get the corners nice and square, I use a plastic point turner gizmo. I have placed it inside the tube that is the tab and the end that is inside is pointed so I can poke out the corners from the inside. I have poked out one corner and will do the second after I take the picture.
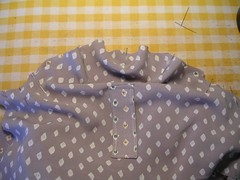
After turning the tab (or any of the other pieces that needed turning) you have to press it and try to get the seams right on the edge. With interfacing only on one side of the pieces (except for the collar) the drapey fabric doesn’t want to distribute itself evenly. You just have to try your best.
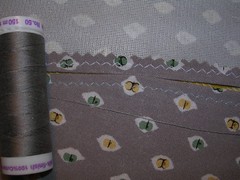
As with all my projects from the stash boxes, I am using up thread colours instead of buying new thread. I have experimented with the white (that I used on Peter’s shirt), a pale blue (which I seem to have a lot of) and a grey which I bought for this other fabric that is languishing in a box somewhere. I decided to use the grey for all stitching that will show.
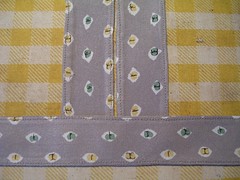
This dress pattern has interest on the bodice back, composed of a yoke and an inverted pleat.
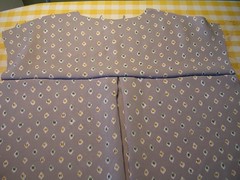
The pattern instructions merely say to iron the seam allowance up, toward the yoke. Since I am a big fan of the flat fell, I am trimming the seam allowance that belongs to the yoke and will fold over the seam allowance belonging to the bodice back, press it and sew it down in a fell.
The instructions also call for a double row of topstitching but I am only doing one row because the fabric doesn’t call for two rows, in my opinion. This is a soft rayon and I think one row will look better.
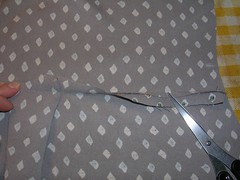
The instructions also call for sewing the bodice all together before attaching the sleeves. However, it is easier to attach a sleeve before the underarm seam is done up, so that is what I have decided to do. When I laid the pieces on the board to take the picture, I forgot that I always put the sleeve on top when I pin because it has the excess fabric.
Here, I have started to pin the sleeve to the bodice and you can see the excess fabric between the pins. You can also see the tab sewed to the sleeve.
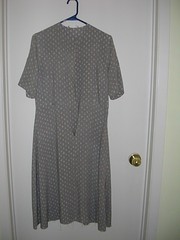
After that, I sewed up all the boring bits - the four skirt seams, the underarm seams and attached the bodice to the skirt. Of course, I also finished all the seams with a flat fell.
3 comments:
Thanks Sharon! When you make quilts, do you ever use fabric other than cotton and do you combine different fabrics like blends and cotton and rayon, etc.? Just curious - one day I plan to start quilting. One day.
some people do mix textures in their quilts, even adding non-fabric elements such as beads, paint, metal sheeting - to embellish of course. since you're used to manipulating challenging fabrics successfully, don't let any silly notion like "only use cotton" stop you. there are some who love to make silk quilts! you might want to practice making a throw for your sofa out of squares of leftovers that you have - it's a great way to start! and i predict that once you start they'll be no stopping you!!!
Thanks Miriam. I fear there may be no stopping me also, which may be why I haven't started yet! :) But I've sure got my collection of fabric bits.
Post a Comment