
Not bad. Today is St. Patrick’s day but since it is so cold still, I am wearing green fleece over a turtleneck and not this thin shirt. I may even put on a cardigan before the hour is over.
Rooting through my stash boxes, I discovered a huge length (for leftovers, it was almost 2 yards) of some fabric I had made a shirt out of about 6 or even 7 years ago. I have worn the shirt quite a lot but I discovered after I made it that it must have a tiny bit of wool in it because after a couple hours of wearing, I start to itch. However, I decided the leftovers would make a nice skirt. Imagine that! Another skirt!

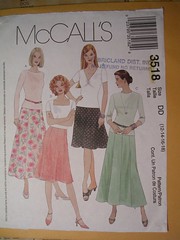
I’m using the same McCall’s pattern 3518 that I have used before. It offers 6 and 8 panel skirt options and I decided on the 8 panels for this busy fabric to cut it up even more.
When you have 8 panels on a skirt, you have to come up with some means of telling them apart so you can put them together in the right order. I cut around the notches and so I know that the back panels have the triple notch and the front panels have the double. But there are still 4 different side panels. What I also like to do is keep the pattern pieces lying on the fabric pieces until it is time to pin them together. It is easier to glance at the writing on the pattern piece that it is to try to discern which notch might be triple and which is double.

I sewed the front 4 panels and the back 4 panels together and then got ready to install the zipper on the left side. In the next photo, you can see the front and back and I have not yet ironed the seams.
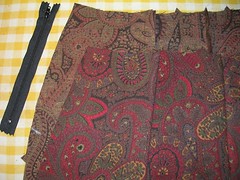
Here, I am showing how the marked dot for the bottom of the zipper doesn’t always fall exactly where you want the bottom of the zipper to go. It is good to lay the zipper on the seam and mark exactly where you want to stop stitching, rather than just rely on the dot.
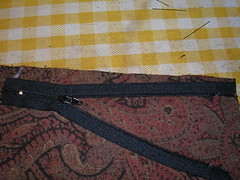
Because of the many colours in this fabric, I had to decide what thread I would use. I was taught that if in doubt, go darker and this rule works on this fabric as you can see from the next photo. The zigzag stitch is on the edge of the seam allowances for where the zipper goes.
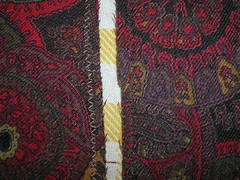
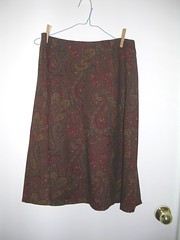
As usual, I flat felled all the seams and finished the bottom with a narrow, machine sewn hem. I decided I didn’t need to line this skirt as the fabric is dense and I have a black half slip that I can wear under it. If the fabric is more loosely woven, I will use lining to give it shape and support.
5 comments:
Pretty fabric!
Hey, it looks like I may be helping a fellow Dress A Day reader to make an A-line skirt. I will definitely be reviewing all your skirt-related posts to remind myself how to do this.
Best,
I.
Hey Bbrug, have fun with your skirt. I love skirts - they are SO simple to make, especially without waistbands. If you have any questions as you go, feel free to ask in comments. Remember - pressing is everything!
I love the blouse. You're SO talented.
Pretty blouse and skirt.
I enjoy your detailed sewing blog. Very informative.
Thanks for the compliments Zoom and Linda. Just follow the pattern and be patient. If in doubt, press.
Post a Comment