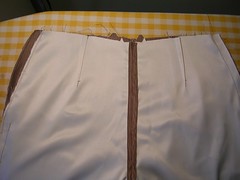
I have ironed the seam allowances into the folds as instructed by the pattern and then I have pinned the zipper to the 1/2 inch fold first. At this point, I also notice that because I place my zippers right up with the top stops at the seam line for the facing, I have left too much space at the bottom and will correct that when I sew the zipper in.
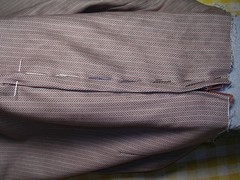
After I sew down the one side, I pin the second side according to the instructions. Then I check to make sure I have caught the whole seam allowance in the stitching line. I have flipped the pants inside out and am looking at where the raw edge of the seam allowance is in relation to where I will be sewing the second side.

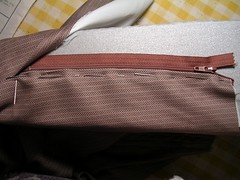
Back on the right side, I check the pin placement again and then proceed to sew down that line of pins on the front side of the pants (taking the pins out as I go). I make a 90 degree turn just below the metal stop at the bottom of the zipper and sew over to the seam line, thus fixing the small error that I made by putting in the zipper higher than the pattern called for.
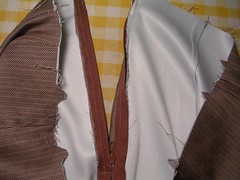
Back on the inside again, I check to make sure the zipper is properly in place. I have turned the right hand edge of the zipper up to show the zigzagged edge of the fabric and how I have sewed inside the raw edge so it remains inside the pant and won’t work its way out. At this point, I also finish that side seam of the pant in the modified flat fell. I wanted to have the zipper in place before I finished this seam so that I could tuck in the upper edges of the seam allowance instead of guessing where they might be before I put in the zipper.
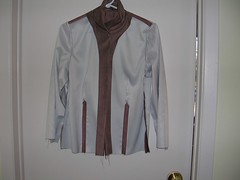
The next photo shows the shirt inside out, just as an exposition. I have not flat fell finished the underarm seams yet.
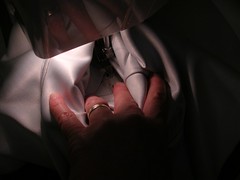
In this photo, I have sewed from the bottom edge of the shirt and down the arm seam to the wrist. Once I get to the wrist, I turn the piece 180 degrees and sew back out of the tunnel, sewing down the second side of the flat fell.
2 comments:
Julia,
This project is coming along very nicely!!
Carmen
I have another blog entry to write and post and then I just have to hem the pants and put buttons on the shirt and I am DONE! Then I can start something I will probably wear more. I might even be done today. This is a good lesson to me to stop buying material just because it is on sale.
Post a Comment