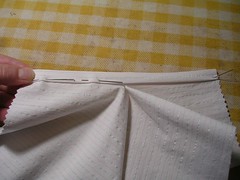
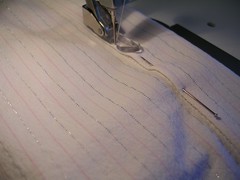
I have sewn the band to the front (like the placket, wrong side of front to right side of band) and now I have to press it so I can fold it over and stitch it down on the right side of the front piece. (I decided to trim the band with pinking shears so that I do not get a hard line of bulky fabric down the front. A pinked edge will be softer. I didn’t pink the collar edge because for some reason, there I don’t mind the line of fabric. Go figure.) Anyway, once the raw edge is folded over on the band and the edges are trimmed, I press the seam where the band meets the front OPEN, and then to one side, so the seam will be as flat as possible. I also use my clapper at every stage where flatness is desired - I don’t wait until the last stage to use the clapper.
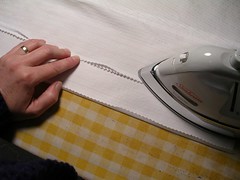
Then I fold the band over the stitching line, just like the placket and I will use a zipper foot on it too.
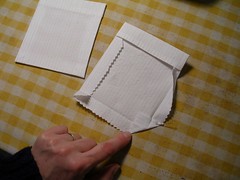
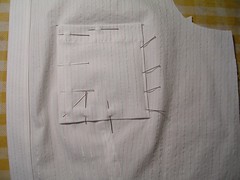
I went ahead and made pockets, even though I have yet to use pockets on this pattern. The front dart comes up and under where the pocket is placed, so you don’t get a flat surface on which to pin the pocket. Anyway, the next photo shows that I have sewed the top of the pocket and turned it right side out. I have finished one pocket and it is turned right side up. The other pocket is showing the wrong side to show the mitered corners, made by folding the raw edges in. I used to think I should bind up the inner raw edges on pockets until I examined an expensive man’s shirt and discovered the pockets were raw on the inside. And if you pink the raw edges, you don’t get raveling.
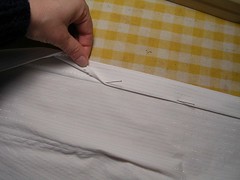
With my zipper foot, I sewed the plackets and the front bands down, removing pins as I went, especially because I put the pins in lengthwise. And in using the pins in the first place, I made sure I put them in so the points would aim to the back as I sewed, so I could just pull them out as I went along. You can see that the head of the pin is facing me as I sit at the machine.
Finally, since I had the zipper foot on, I attached the pockets. I am still undecided as to whether I will leave them on because of the way the fabric on the shirt fronts is behaving. I’ll wait until I try the shirt on when it is finished, buttons and all, before making a final decision. I am confident that I can pick out the stitching and not leave a mess if I decide to take one or both pockets off. The left one went on better than the right which is good because if you only have one pocket, it should be the left one (it’s a rule somewhere). And I don’t know why one goes on better than the other when they are supposed to be identical.
No comments:
Post a Comment