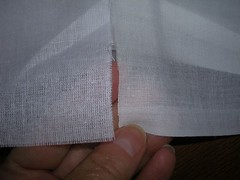
This is lightweight, sew-in interfacing on the right and the heavy duty sew-in interfacing on the left. You can't really tell from the picture but the tighter weave lightweight stuff is thinner and more pliable than the stuff on the left.
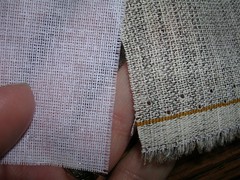
The heavy interfacing is on the left again. It is surprising to me that the hair canvas, which I had imagined to be thick and unwieldy, is actually more pliable than the regular interfacing. It is used in several layers in the bodice which is why I was worried about the finished product. But then I figured that the designer of the dress should know what he is doing.
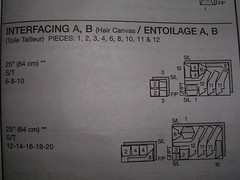
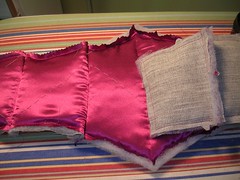
Here are all the pieces of the bodice and the midriff that are cut out of the hair canvas. Yikes.
Here's how I marked the topstitching lines on the midriff. I put pins in, along the stitching line shown on the pattern piece. I marked them on the wrong side of the fabric with chalk. Then I marked the mirror image piece the same way. Then I separated the pieces and sewed along the chalk lines with contrasting basting thread so the line would show up on the right side when it came time to topstitch.
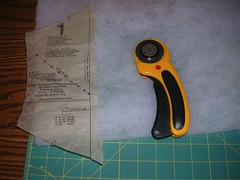
I got a brainstorm to cut the quilt batting with my rotary cutter on the mat. Whenever I have pinned pattern pieces to batting in the past, the batting distorts the pattern piece. Cutting it with the rotary tool eliminated that fussing.
I also thought I'd get less distortion if I hand basted the fabric to the batting and I was right there too. It's a lot more time consuming but way less frustrating.

However, after I pinned the hair canvas pieces to the fabric and batting pieces, I machine basted them together because the hair canvas acted as a backing and sandwiched the batting between it and the fabric.
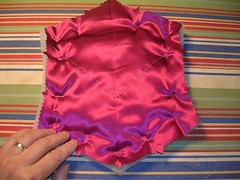
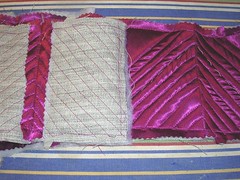
This is the midriff, all sewed together but not pressed. Very poofy.
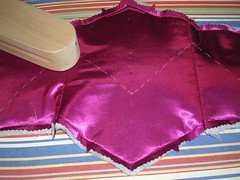
Here, I've pressed the midriff three times and used the clapper on it.
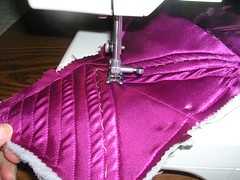
Here, I've started the machine quilting. They just call it "topstitching" in the pattern instructions.
I've got a lot more of the quilting done but still haven't finished. And it will need a good pressing when I'm done too.
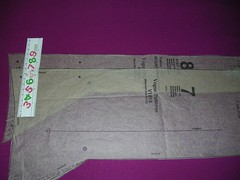
After I'm done the midriff, I am going to start worrying at (about?) the draping on the bodice. In this photo, you can see there is a small discrepancy between how long the stay piece is and how the draping piece is a little bit shorter. It says "stretch" on the draping piece.
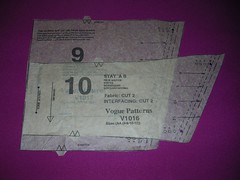
However, there is a huge discrepancy between this stay piece (number 10) and the draping piece (number 9). In the muslin, the draping piece pulled the stay piece up and puckered it. On the other however, I didn't use interfacing and hair canvas and all that in the muslin. I hardly have any of this fabric left so whatever happens, I am going to have to MAKE this work. I did take the liberty of cutting this draping piece wider than the pattern calls for and so we shall see how it will work. I'll do all the other draping pieces first.
7 comments:
Ooooh, exciting! Can't wait for the finished product!
thanks so much for sharing this project with us. I'm preparing to sew some bridesmaids dresses and one of the patterns called for hair canvas and I was really unsure about it. Great information.
Good luck with the dress! Looking forward to your progress.
Thanks for your comments! The midriff is now done so the bodice is next...
With this Vogue pattern being an advanced one, you sure have your work cut out for you...no pun intended!
Did you topstitch all in one direction or reverse the directions?
I have found that keeping the direction the same and using a walking foot cuts down on rippling.
You have put so much thought and planning into this dress- Bravo!
Wow! Looks complicated, but then again I have never been particularly good at sewing/knitting/crocheting, etc.
My best friend is getting married in April and we're about to start working on bridesmaids dresses. I'm so excited! This pattern is great.
-Sylvia
Ananta Watches
Post a Comment