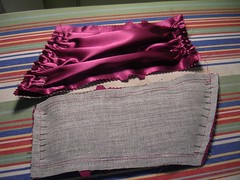
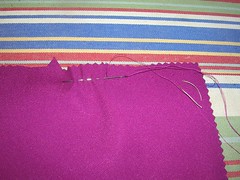
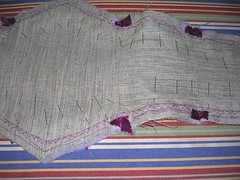
Here it is, with the corresponding piece turned over, showing the interfacing. On both pieces, I have pinned the drape and it would have shrunk the underlying "10" piece by a considerable amount, if I'd had to "stretch" the drape to fit, as the instructions said. I have been trying to follow the instructions to the letter but I just knew something was wrong with this piece. And it did NOT stretch one bit.
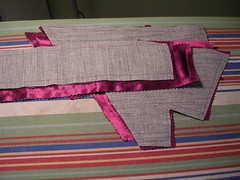
Here is the draping pinned to the piece that goes up and around the neck. They actually call this whole piece "the drape" (to distinguish it from upper bodice and side bodice and stuff.) You can see that the underlying, interfaced piece has curved up a little, because the draping overlay is a little bit smaller. Here, those instructions work but not on the back!
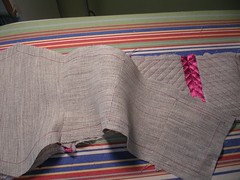
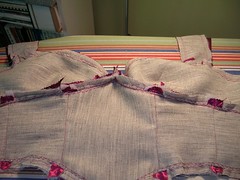
Backing up a little, here are all the bodice pieces with their corresponding interfacing pieces stitched to them.
These pieces are obvious! Looks like something Madonna would have worn. The interfacing makes it very structured.

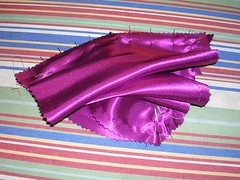
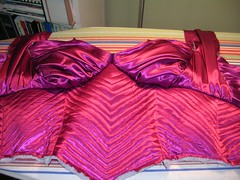
This is the drape that goes on top of the piece.
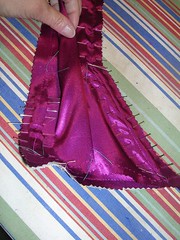
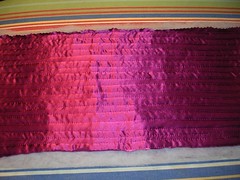
This is how I gathered all the draping pieces - by hand.
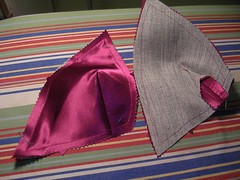
Here's the draping piece pinned on the ungathered edge.
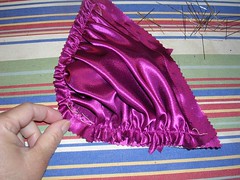
And here it is, all gathered up and basted on.
Back to the midriff - I finished the quilting to the interfacing and then the instructions called for a double layer of interfacing to be hand sewn into the midriff.
The instructions called for a catch stitch so that's what I used to sew in the extra midriff interfacing.
The bodice also called for two layers of interfacing to be sewn in there too. This is the bodice and the midriff, sewn together.
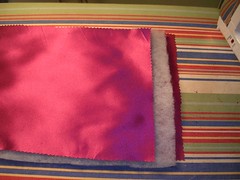
The bodice and midriff, from the right side. I had not, at this stage, sewn the interior or lining on the piece. When I did and after I fitted it on my niece, I had a major problem - it did not meet at the back! I had to devise a way of adding an inch or so of fabric to the back where the zipper will go, without making it look odd.

I decided to quilt a piece of fabric to some lining so it would look like the midriff. We're only talking an extra inch here but I made a good 8 inches (in width) of quilted fabric so I would have room to manoeuver.
Next, I have to attach the extra strip of quilted fabric to the back and then attach the skirts. Whew.
7 comments:
Have you ever considered doing a non-sewing blog? I'd love to read some of your thoughts and ideas and rants on stuff. Your comments on my blog are always so insightful.
Wow! That is all.
Wowsers....that dress is amazing and I'm not sure I would survive it. *grin* Thanks for sharing the construction!
Another wow! I applaud you! There's a lot of sewing on this dress. It is going to be gorgeous!
Thanks you guys! Almost done!
xup, I DO have an opinion blog! It is Demystification Guru (someone suggested it as a title). But I haven't posted anything since before I got the diagnosis last August. Also, it is under my real name so I am a little scared about being controversial. Which is to say, no matter what I write, someone somewhere won't agree with me. And since I am still trying to get a real job, I feel like I have to be below the radar in the opinion department. I used to have a mug that said "Everyone is entitled to my opinion" but some lawyer stole it. Really.
It's very difficult work for me sewing a Prom dresses myself, it's amzaing!
This was great to read thank you.
Post a Comment