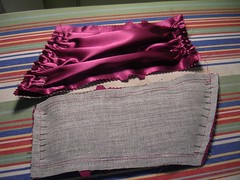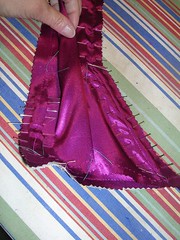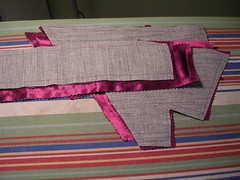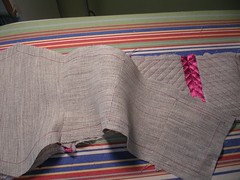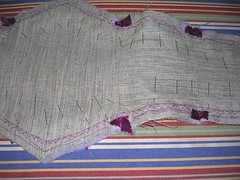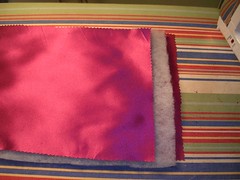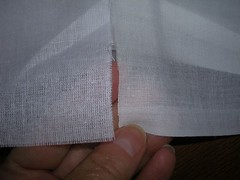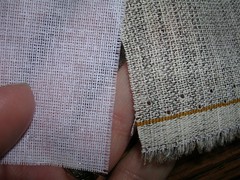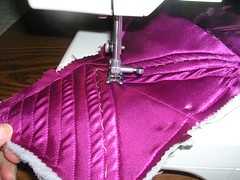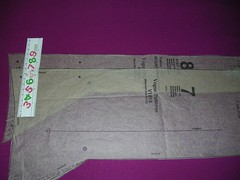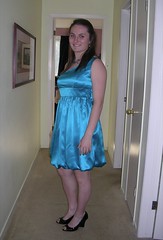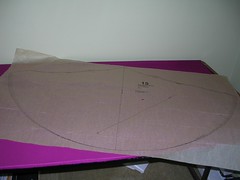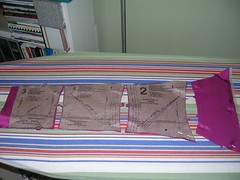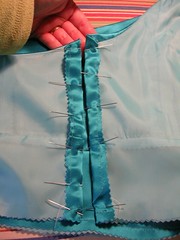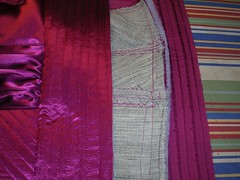
I added the vertically quilted pieces to the back, where I needed a little extra width. They were quite a bit wider than I needed but I wanted to give myself wiggle room. I also noticed that putting the zipper in might be easier with the simply quilted piece, rather than trying to sew the zipper to all those layers of hair canvas interfacing, so I think that part turned out for the best.
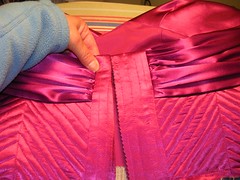
I trimmed those pieces up a bit more and here, I am illustrating what it will look like once the zipper is in. I have been hoping this "fix" will look like a "design feature" and I think it will!
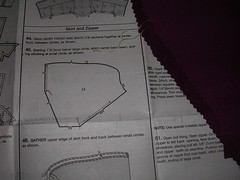
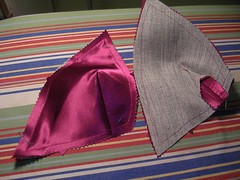
This is just one panel of how odd the construction of the skirt seemed, before I actually followed the instructions and sewed all four of the skirt pieces together.
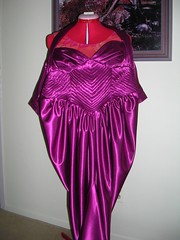
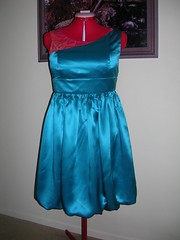
Here is the dress, just hanging around the neck of my judy, which is why the skirt looks oddly wide (because it's not actually ON the judy). But it does look exactly like the pattern instructions.

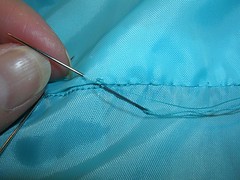
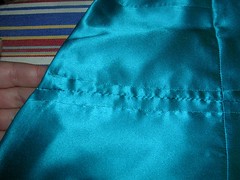
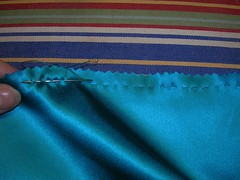
Once the skirt is sewn onto the bodice, you have to press the seam allowance UP, into the bodice, so that it can get concealed by the lining. This is difficult because of the layers of interfacing that have to be folded up. So I decided to sew up the seam allowance by hand (instead of just pressing it up), taking some internal stitches here and there but also making pick stitches right through to the quilting on the outside. This is turning into a true couture garment, with all this hand sewing.
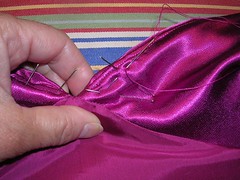
The instructions also called for understitching the top edge of the bodice as much as possible by machine, which I did. But it still tended to roll out so I pick stitched the entire thing around the inside, including the two "drape" pieces (the things that go around the neck to make the halter).
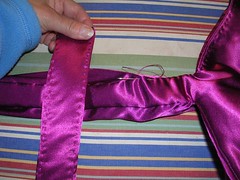
These pick stitches are all on the inside and never show on the outside.
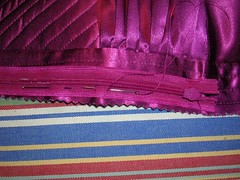
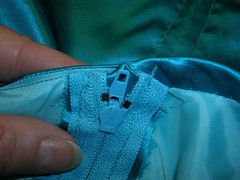
So then it came time to put in the invisible zipper. I basted it all in by hand first (of course!). Then I tried cheating with a non-invisible zipper foot and couldn't get the zipper teeth to roll out far enough to give it the proper "invisible" effect. So now I have to call my sister (my niece's mother) and see if she has this foot attachment on her machine. If so, I can go over and first do a fitting and then sew it up. If not, I will have to go find one. But I'm almost done!
