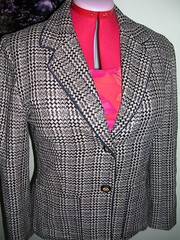
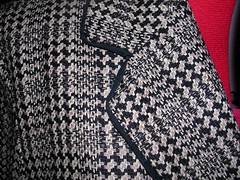
I wasn't going to blog about this because it was just "left overs". However, the fabric I had left over was more than I thought and now it has turned into a project for which I have actually bought something new (i.e. piping and a button). So here it is.
A while back I made a jumper using some nice black cotton with a waffle weave finish. I used a pattern that was apparently in my size but when it was finished, the jumper looked more like a tent and as the hem grazed my ankles, I thought, not even taking it up will help. I really needed to be about 6 feet tall to make that pattern work. So I am going to give it away to the Sally Ann when I can bear to part with it - never-been-worn and nicely made. Ah well.
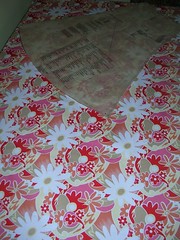
When I got the fabric, I bought yards of it because - that's right! - it was on sale. I decided that I could now use a serviceable black skirt so I hauled out what was left and cut out the skirt in the pattern I love - New Look 6462.
Having cut out the skirt, I realized there was still a lot of the fabric left over and it struck me that I could make a little jacket that would work like a cardigan.
I trotted out the "shrunken jacket" pattern Simplicity 4698 and decided to see if View C in the 3/4 sleeve would fit on what was left. I've made this pattern before and if I'm not too fat, it looks pretty cute on me. Because it is unlined, I thought it would feel more like a cardigan.
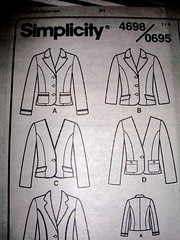
Veiw C and D don't have lapels and I didn't have enough fabric for them, so I decided a little piping would liven the jacket up.
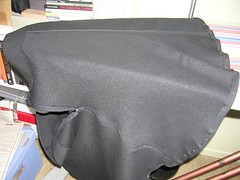
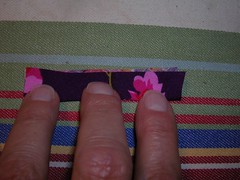
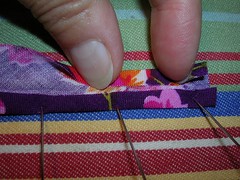
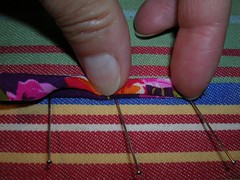
Here's the skirt, ready for hemming. The fabric has a dull side and a slightly shiny side and I put the dull side as the right side. In spite of it being cotton, it also doesn't make a narrow fold very well and so I had to use pins to hold the hem down before sewing it.
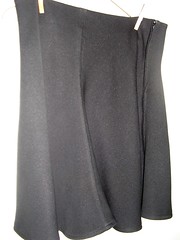
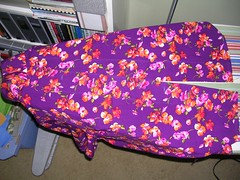
Here it is, finished and hanging up. I have a boom box parked in front of my sewing room door and am too lazy to move it so the photo looks odd. I have been listening to CBC French radio in the hopes that the language will impart itself to me by osmosis and am using the boom box instead of my usual radio because the old dial on the usual radio is very fiddly and I don't like to change it from the English CBC, otherwise all I get is static.
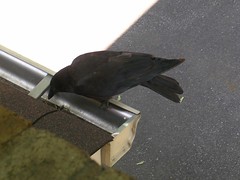
Finally, when I was in my sewing room yesterday, I heard the sound of toenails on metal and looked out the window to see a local crow picking at something in the rain gutters. Although they are noisy (especially at 6 am) and they pick holes in my garbage bags, I like the bold birds and so I took his picture instead of shooing him away.
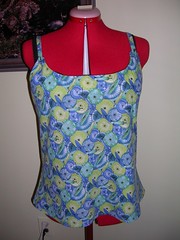
In which I make some clothes, expound on the virtues of the flat fell seam finish, and proclaim "you CAN sew your own clothes, and even wear them in public".
Tuesday, July 31, 2007
Monday, July 23, 2007
PJs finished
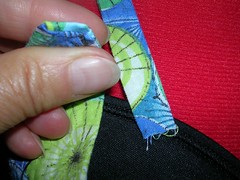
I've been finished this for a while but it just takes so long to blog it sometimes. Sorry. Here is the top with the straps pinned to the front to adjust for length.
The instructions say to sew the front end of the strap to the inside of the facing but I left an opening in the seam so I could insert the strap and then sew across it.
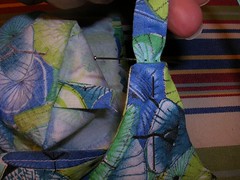
After I figured out how long I wanted the straps to be, I stuffed them into the top at the gap in the facing seam. On the left side of this photo, I have turned the other strap/facing inside-out so you can see how the strap looks in the inside.
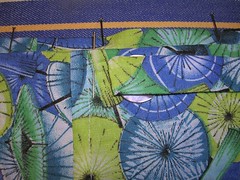
The shorts are just plain with an elastic/drawstring combo waistline. Unfortunately, I forgot to read the instructions and so did not leave a gap in the front seam for the drawstrings to come through. Since I had already finished all the seams with a flat fell, I wasn't about to pick them apart either. Luckily, I had not started to sew down the casing for the elastic and so...
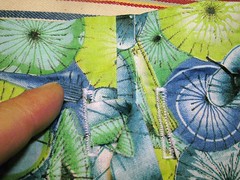
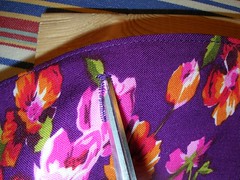
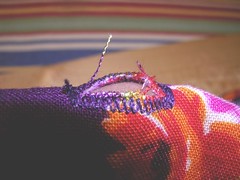
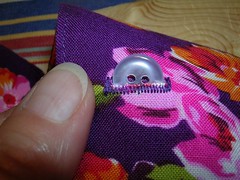
I made two buttonholes wide enough for the drawstring! Then I sewed the casing and just threaded the drawstring and elastic through the buttonholes and presto - I was finished.
Thursday, July 19, 2007
Pyjamas
Apparently, that is the British spelling. Dictionary dot com seems to prefer "pajamas".
I have decided to put off the wool suit for a while and make some cotton PJs in anticipation of our bike trip Down East. We will be staying with friends on several nights and I wanted something I could wear as pyjamas that wouldn't weigh much (you have to travel light on a bike) and yet would be modest. (There's an old-fashioned word for you.) But a t-shirt as pyjamas can be too revealing and I wanted something opaque, in case I had to wander about the house in search of a bathroom in the middle of the night.
Luckily, I found such a fabric and as a bonus, it was totally on sale! $2 per metre.
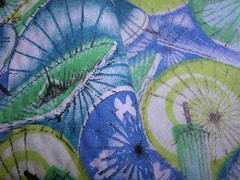
I think it belongs to the craft fabric section but it was very light weight and I liked the colours. Plus, it has an all-over bubble finish to it, like seersucker only not in rows. The right side is on the left in this photo and the wrong side is a bit faded looking.
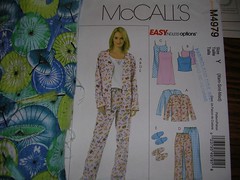
I had bought a pattern for pyjamas some time ago and have decided to go with it, even though it is untried. I am a little nervous that it will end up being too small, as the size I bought only went up to "medium". But I have pinned the pattern pieces on Rose and they seem to be okay.
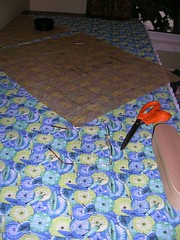
I am making the top with the spaghetti straps but I have lengthened it by adding three inches to the bottom. And I am making shorts with a 10 inch inseam, by cutting the legs off at the appropriate spot. I like the way the top is cut on the bias for stretch. There are no buttons or zippers and only a bit of interfacing on the top facings so I ought to be done fairly quickly.
Wednesday, July 11, 2007
Camp Shirt
And we're done my rayon camp/bike shirt. Before we conclude the shirt however, a brief tutorial on buttonholes. I make most of mine with the automatic buttonholer that came with my Singer. As you'll see, it can be uneven but if I'm not that fussy, I don't mind and you can hardly notice when the shirt is being worn.
First, I have to choose buttons from my stash. Since this was fabric on sale and I'm not being fussy, I decided to use up 6 of the regular shirt buttons that I got that were slightly different from the other shirt buttons I often use. That left me one short for the loop at the neck, so I looked at the leftovers in my button box. I ended up choosing the red one with a shank, because there IS red in the shirt and the shank suits the loop best.
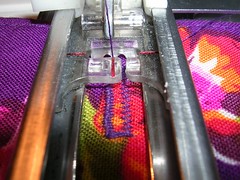
Then I marked where I wanted the buttonholes to go with pins and snapped the automatic buttonholer on the presser foot thingy.
Here's a close-up of one of the buttonholes. You can see that the right-hand side is much less tightly stitched than the left. There IS an adjustment lever on the machine that is supposed to correct that but I have never been able to make it work. Well -- maybe I haven't tried very hard. Okay, okay, I'll work on it.
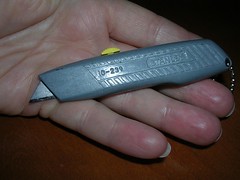
Here's where the tools I referred to earlier come in. I use this tiny utility knife to cut open the fabric, inside the encircling buttonhole stitching. I forget what I used to use before Peter gave me this - I think I just stuck scissors in through the fabric fibres and hoped for the best.
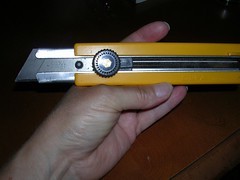
"Now that's a knife!" This is a pro-quality utility knife and not only is it too big for sewing, it is total overkill. But it's great for renovations!
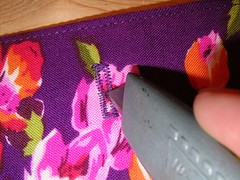
Using a bit of softwood (like pine) to cut into, I stick the point of the knife between the rows of stitching and make a small cut. Sometimes, I let the rows of stitching get too close to each other and then I end up cutting the stitching which is very annoying and then I have to fix it.
You can cut the whole hole with the knife but I prefer the control I have using small and very sharp scissors. Cut up to the ends of the hole so the button will fit through.
I then poke my finger into the hole to bend it open and expose loose threads that will get caught on the button or pulled. I trim those off. (This photo is the wrong side of the buttonhole, on the facing.)
And the button fits!
Next, place the shirt on the ironing board and put the buttonhole side over where the buttons will go and mark the button placement with pins.
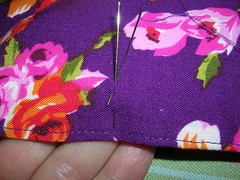
After I cut thread to sew the buttons on, I measured it and realized that I use a whole metre of thread, doubled, so it is 18 inches long with a knot in it. Put the needle in where the pin marks the spot for the button.
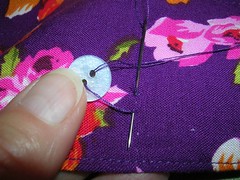
Put the needle-pulling-thread (sing with me now!) through the holes in the button and then back through the fabric where the first stitch was made.
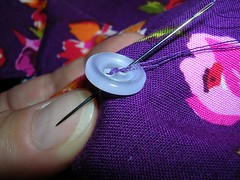
Now the button is snug on the fabric. Stick the needle through the first hole and by bending the fabric and tilting the button, you can get the needle through the fabric under the button and out where the second hole is.
Now you can put the needle up through that second hole in the button and then down through the first hole, again tilting the fabric as before. In this way, you get consistent stitches on the wrong side (the facing side). I used to stab up and down blindly through the holes in the buttons and my stitches on the wrong side were all over the place. This way is neater.
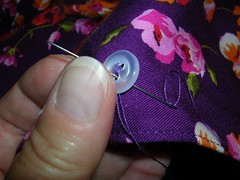
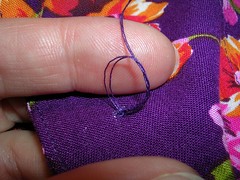
After about 4 or 5 of these stitches, pull the thread out on the facing side and take a stitch through the stitches you already made, making a loop. Thread the needle through that loop twice and pull tight, making a good knot. I also then take a small stitch in the fabric to bury the tail of the thread before cutting it off flat against the fabric.
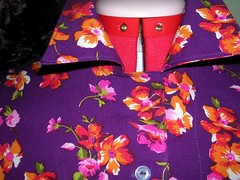
Finished neck detail.
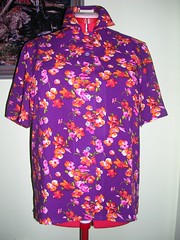
Finished shirt on Rose.
Shirt in action! I rode out to meet my husband coming home from work yesterday and wore the shirt for the first time. It was hot and humid and the reason the hem is all crooked is because the back of the shirt is wet with sweat and hanging lower than the front, plus I have pulled the collar away from the back of my neck for air.
Peter is saying, "shh. There are ducklings down here!"
He is also wearing one of my shirts. :)
And there are the ducks! Mom and three medium sized babies. Sweet.
Sunday, July 08, 2007
the camp shirt
Yeowzah! Poke my eye out with the colour!
If anything, it is brighter in real life. But the fabric is lovely and soft and drapes wonderfully. And if I wear in on my bike, they will surely see me coming. And most importantly, the whole piece (therefore the shirt) only cost me $3.
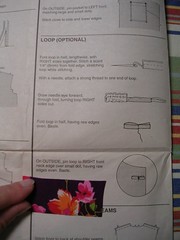
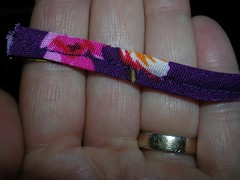
Today's tutorial is on the tiny loop at the neck of the shirt. Of course, when would you ever do up a short sleeved shirt right to the neck but I like it as a detail in the design so sometimes I add the loop. The pattern instructions call for making a tiny tube and turning it right-side out. Are they nuts?
The tiny piece of fabric is cut on the bias and so it stretches. Instead of making a tube, I first iron the piece in half lengthwise.
Since it is so small and maneuvering the piece under the iron would cause third degree burns to my fingers, I use pins to help me out. I fold up the one half into half and pin it down. Then I fold over the other half. As this fabric is rayon and creases easily, it won't take but a touch with the iron to set it in place.
Then I fold both halves onto each other, folding in the raw edges, and press, removing the pins as I go.
Once I get it under the needle, it slithers around worse than Alan Rickman in Harry Potter. In retrospect, I probably would have been better off with a straight foot instead of the zipper foot.
As you can see, the stitching line is a little crooked but since it is a tiny piece anyway and will be folded in half when done, I don't really mind.
Saturday, July 07, 2007
that skirt and some other things
Where does the time go? When my husband is at home taking some holiday daze, then it goes out the window, that's where.
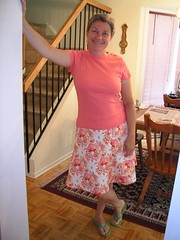
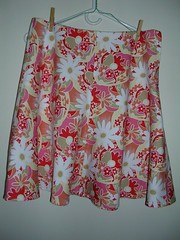
I finished my flippy skirt not long after I decided to make it. I didn't keep track of time but it was only a couple of hours from start (laying the fabric on the table) to finish.
It has all sorts of nice colours in it, from white to yellow to peach and red. I chose a plain peach t-shirt and voila! Dressed for the day.
I just finished ironing the beautiful blue wool - on both sides. That's careful dedication. I found a fluffy flaw near the end on one side, and marked it with some contrasting thread. I thought I "should" use the smoother side as the right side but I noticed that on the smooth side, you could see a vertical repeat every five inches. When I turned it over to iron the rougher side, I saw that the repeat didn't show up there. And so, because the flaw was on the smoother side, it makes me think that the manufacturer (designer) may have intended the rougher side to be the right side. In any event, I am going to lay it out only one layer thick and cut each piece out individually, just to make sure I get the correct straight of grain on each piece. You can go a little "off" when you fold the fabric in two lengthwise, even if you fold it very carefully. Since it was so expensive to begin with and since I know I'll be wearing this suit for at least 20 years, I will make a really good job of it.
In the meantime, I decided to postpone the cutting-of-the-wool by making a quick camp shirt out of some cheap rayon. On this way, I can do a short spot on buttonholes. I have discovered another fellow sewer in the Ottawa area and she posted about sewing tools, including something with which to make buttonholes. I decided to post about the carpentry tools I use, just for fun.
Monday, July 02, 2007
Shirt, Skirt, Suit and Wool
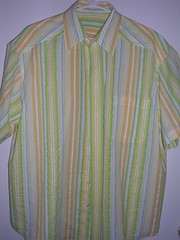
There it is - the finished shirt. It's very casual - he'll likely only wear it cycling. But that's what it was made for - cycling. It's very lightweight cotton seersucker and will billow in the breeze created while riding. If it ever gets hot again here, he'll enjoy wearing it, even if he does think it's a little too bright (it does look a lot more Yellow and Green in real life!).
Ever since the last Darrell Thomas newsletter, I have been thinking about the beautiful designer wool I bought and had stashed in the original DT paper bag, complete with lining and zipper and buttons. I know I bought it while I was still working downtown so that means it was before 2004. I hauled it out (I think there is about 3 metres of it) and decided to WASH it. I hate having to dry clean clothes so I washed it. I know! But I am brave. I put it on the gentle cycle with cold water and only for about 10 minutes. THEN -- I put it in the dryer. I KNOW! But it survived, even if it is a tiny bit fluffy now. I think a good steam pressing will take care of fluffy. See? It still looks lovely. It is a very dark navy. I was having fears about cutting into it but now that I've washed and dried it, that fear is subsiding. Instead, I am excited about making a suit with a jacket and skirt and maybe a third piece, depending on how much fabric I end up with.
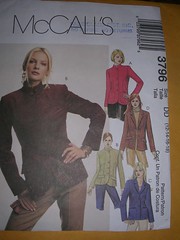
I am going to use McCall's pattern 3796 view C or D without any pockets. I have made both views and this jacket fits me very nicely without any altering.
Here it is in raw silk, which I also bought at Darrell Thomas. I made the tiny piping that runs along the lapels and around the pockets.
This raw silk fabric I didn't dare wash so when it gets dirty (which isn't yet) I will dry clean it. I figured however, that wool, which grows on sturdy sheep, ought to be able to stand washing.
In the meantime however, in anticipation of it getting HOT again, I am going to whip up yet another of my flippy summer skirts. I got this fabric recently on sale and it is nicely polished cotton with a tiny bit of Lycra in it. I didn't need the Lycra but got it for the colours. Doesn't it look like something you'd see in Japanese animation on the Internet? Because the skirt panels are cut on the bias, the pattern lines of white daisies will run diagonally across each panel, instead of up and down. I think that will be okay. It's only going to be for casual wear anyway. But it will give me time to work up my courage to cut up the wool.
Subscribe to:
Posts (Atom)