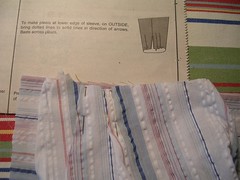
Since I have to make the sleeve before I put it on the shirt, I also make the cuff. Here, I have put the pattern instructions under the cuff so I can see which way to make the pleats at the bottom of the sleeve go (they fold away from the vent on the right side of the sleeve). I have the right side of the sleeve facing up in the photo. I am going to sew the cuff to the wrong side of the sleeve first (as I did with the collar) and then fold over the other, long edge and machine sew it to the sleeve.
In the next photo, I have sewed the cuff to the sleeve and I have sewed the ends of the cuff together. Then I have turned it right side out and am starting to pin the folded edge over the stitching line on the right side of the sleeve. I can tell it's the right side because the vent is finished. I also positioned the wrong side of the other end of the cuff under the main end so you could contrast them.
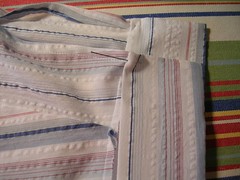
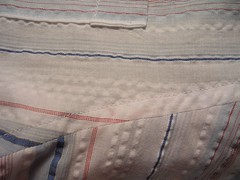
I sewed the folded edge close to the stitching line with the zipper foot. In the next photo, I have sewed a line of topstitching all around the cuff on the right-hand side of the photo and have yet to finish the left-hand cuff. You can also see that I missed making the stripes line up perfectly on the two cuffs by a few threads. If he never holds his hands out together, you might not notice. :)

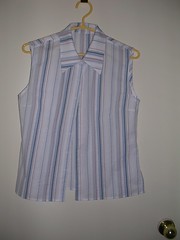
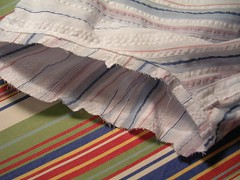
In the meantime, I finished my little shirt except for sewing the buttons on. (I know the stripes don't line up but it was an uneven stripe and I was cutting it like a remnant so I wasn't going to fiddle with it.)
So now I have to put the sleeves on his shirt. First I slide the sleeve into the armscye and line up the notches and chalk marks. There isn't a lot of ease to gather (thank goodness) so I just stick pins in all around and sew the thing to the shirt. You can sew around on the inside as shown or go around the outside, it doesn't matter. Just make sure you feel all the way around as you are sewing and make sure no little folds of fabric develop on the bottom layer or that you don't catch some other layer of fabric in the stitching. That can happen easily especially when the fabric is this thin.
Once the sleeve is sewn to the shirt, trim off one of the seam allowances, preferably the one belonging to the body of the shirt and not the sleeve. The sleeve has more ease in it (except for right at the armpit) and will be easier (no pun intended) to fold over into the flat fell. Then press the seam allowances toward the body.
Pinning the flat fell around in a circle is a bit fussy but you just have to be patient and use a sleeve board to help.
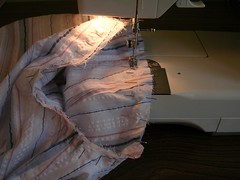
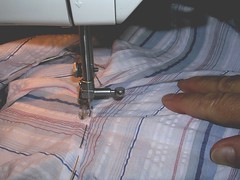
Sewing the flat fell around the armscye is also fussy but again, you have to go slowly and, as I show here, gently pull the extra fabric away from the spot where you are stitching so folds and tucks don't get sewn in.
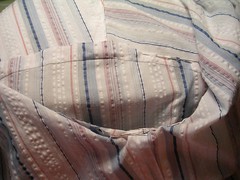
Here's what the finished flat fell looks like on the outside of the left sleeve. You can see the edge of the pocket too.
No comments:
Post a Comment