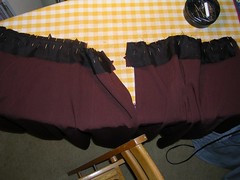
Once I sewed the facings to the skirt, I pressed the skirt toward the facings and understitched both facings to make them lie flat. Now I can sew the final skirt seam. It is the right-hand seam (the zipper is on the left). By doing it this way, I can take the skirt IN when I lose a few more pounds :) and that will be easier than if I sewed the facing all the way around as the instructions say.
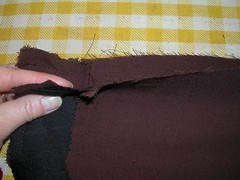
In the next photo, I haven’t pressed the seam open or felled it but that’s coming.
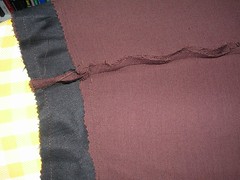
I continued work on the jacket too. I saw the flash go off for all the photos but some turned out very dark. I tried “enhancing” them too and sorry, but they just aren’t very good. Anyway.
This jacket is unlined and the facing gets sewed all in one piece and then it is put right sides together with the body of the jacket and you get a finished neck edge. In this photo, the facings are sewn together and you can (barely) see that I am doing a modified flat fell on the shoulder seams.
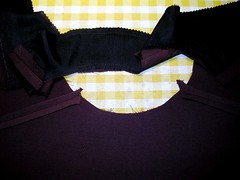
In the next photo (nice and bright, don’t know why), I have pressed open the neck edge seam. This is so it will end up being as flat as possible.
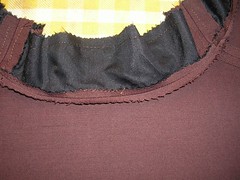
Once the seam is pressed open, you fold it over closed (wrong sides together) and press the finished neck edge using the clapper to get in really flat. The next photo shows the neck edge from the inside (you are looking at the facing) and I have put a couple of pins in to make sure all that pressing doesn’t unfold before I can topstitch it.
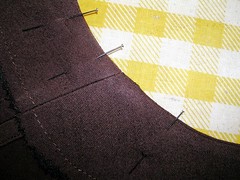
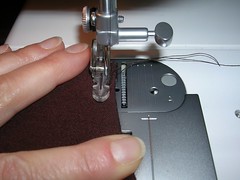
Here, I am starting the topstitching and I am stitching from the right side of the jacket because that is the stitching that will show. If you stitched from the facing side, you risk a wobbly line once you turn it over and look at the right side. Also, I am only stitching the neck edge. I will save the front edges for later, after I have done the hems (you’ll see).
No comments:
Post a Comment