Next, I finished the back seam of the skirt. The zipper requires the seam allowance to be spread out so I pinked those edges. Below the zipper, I made a flat fell in the direction of the vent at the bottom. After this, I sewed first one side of the skirt and did a modified fell and then I sewed the second side and finished it the same way. I did the modified fell (like the inside seam on the sleeve of the shirt) because I knew on the second side, I would be sewing inside a tube (like the sleeve). Of course, the skirt is a much bigger tube but I thought I would do this finish anyway.
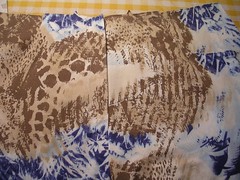
Next, I put the backs together. First you have to sew on the yoke at the top of each back piece. This is the first place on the pants so far that I will be doing a proper flat fell. The photo shows the yoke sewed on and the fell started.
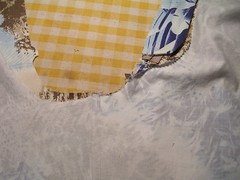
The next photo shows one side of the back as finished. You can see I have added a second line of stitching to the flat fell on the yoke. I do the first line (the stitching that holds down the seam allowance) on the inside, to sew down the seam allowance after I fold it over the raw edge. I sew the second line on the right side (outside), close to the seam line. The photo also shows the pockets after they have been sewed on with two lines of stitching. I pinned them carefully in place and then used a zipper foot to get the outside line of stitching nice and close to the edge of the pocket.
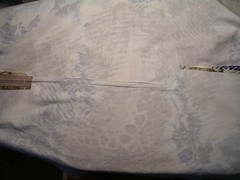
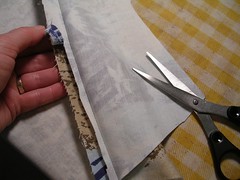
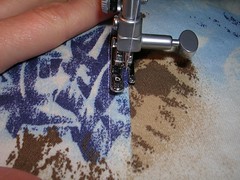
The two front pieces of the pants have been sewed together at the fly and there is a little line of stitching that goes down toward the crotch. The back halves are still two separate pieces. Following the pattern instructions, I sew the fronts to the back at the inside leg seam. The next photo shows the inside leg seams sewed and on the right hand one, I have started to trim one half of the seam allowance in preparation for making a flat fell. I am making a proper flat fell, like I did on the yoke, with two lines of top stitching. I am also falling the seam over toward the back of the pants (as opposed to folding it so it is stitched on the pants front).
As before, you can iron down the seam in preparation for a flat fell and you don’t need to pin it in place if you use a clapper to really crease and flatten the folded seam allowance. Once you have ironed the seam allowance out, and then folded it over and pressed it again, you are ready to sew. Sew the flat fell down on the inside of the leg, on the wrong side of the fabric. Then turn the pants over and sew the second line of stitching close to the seam line on the outside.
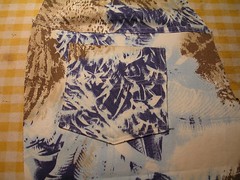
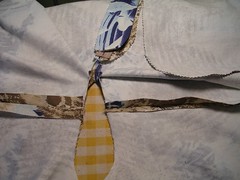
The last photo today shows the pants pieces getting lined up at the crotch. You can see the front two pieces joined at the fly and the back two pieces are still separate. Line up the raw edges and match the notches and pin the pants together at the crotch. Organize it so that you will start sewing at the back and end up at the little line of stitching on the front. It is easier to aim your seam at the stitching already there and finish at it, than to start with the bulk of the fly behind and maybe under your presser foot and proceed from there toward the back top edge of the pants. After this, we will trim this seam and make it into a proper flat fell too, even with the curve in it.
No comments:
Post a Comment