Why does my life seem so busy and I am not even "gainfully employed outside the home"?
I have been working back on the blue coat since I finished the dresses but I still have not managed to finish it yet.
I finished putting the lining pieces together and then attached the lining to the coat.
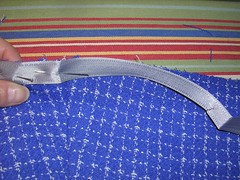
Then I machine sewed seam tape to the hem and hand sewed the hem up. I am doing it this way because the lining hem is not going to be attached to the coat hem - it will float separately because of the pleat in the middle of the back. I have to press the heck out of it now and finish the lining hem. Next will be some top stitching and then the buttons and I'll be done.
In which I make some clothes, expound on the virtues of the flat fell seam finish, and proclaim "you CAN sew your own clothes, and even wear them in public".
Tuesday, June 16, 2009
Monday, June 08, 2009
Matching purses
At last! I can allow myself to think about something ELSE.
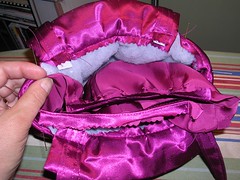
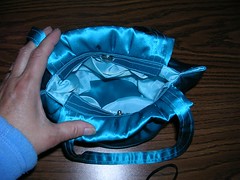
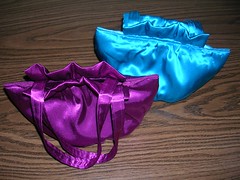
I spent all day Sunday (off and on) sewing up the two matching purses. So cute!
It is almost like making baby clothes, because they are so small. But there is still a fair bit of construction. I used Butterick 6371, the middle silver purse on the right.
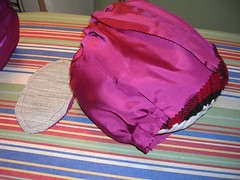
It calls for buckram on the bottom oval piece but I used two layers of the hair canvas (because I had it) on both the lining and the purse oval pieces. So there are six layers on the bottom, which is still one less than in the bodice of that dress!
I cleverly discovered that my pressing ham is the perfect size and shap for pressing out the side seams on the purse.
The bottom looks complicated with all the pleats and easing the sides onto the oval, but it is surprisingly easy.
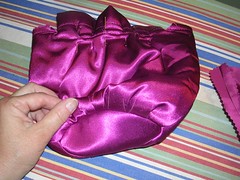
There is a layer of quilt batting between the outside and the lining but it is just held in around the edges or the seams - there is no actual quilting going on.
Once you have the inside and outside done and the handles attached to the outside, you put the lining inside and sew it around the top edge.
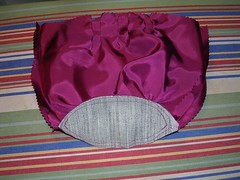
The oval piece on the lining is supposed to be made out of lining fabric but I used the outside fabric for a fun, finishing touch.
And there they are!
Friday, June 05, 2009
Prom dress finished!
The day before D-Day! I spent 2 and a half hours last night, hand sewing a hand rolled hem. This morning, I put on the finishing touches and now I just have to make the two matching purses (one for the turquoise dress too).
It started with having to rip out some of the back of the dress. The bodice fit great around the shoulder blades, where I had added the quilted "design feature" but it bagged out at the waist so I had to take it in. So I had to rip out the zipper too. I had not put it in properly with the proper zipper foot so I had to rip it out anyway, but it was sewn and basted in so there was much ripping.
Once I had ripped it all out, I decided to reinforce the skirt back with two pieces of lining fabric. I had not been able to cut the back exactly on the straight of grain and it bagged a little, so by reinforcing the edge with lining fabric, I was able to get a clean look on the back.
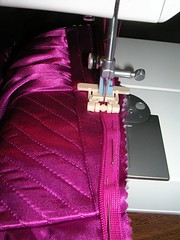
I also trimmed the quilted "design feature" so it would come in at the waist. Here is the zipper, ready to be installed.
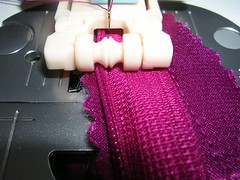
This is how that zipper foot pushes out the rolled zipper teeth as you sew. It is still fussy and you have to be slow and careful but it works.
Once I had the zipper installed, I had to gently press the quilted part of the back to get the fat edges to meet properly. It was especially fat around the bottom of the bodice because I was into all those layers of hair canvas. I don't know how the zipper would have worked if all I'd had to work with was that heavily constructed part, so I am glad I put in the "design feature".
Then it was time to hem. I had to take it up about 2 and 1/2 inches so I set a rubber band on my machine at 2 and 3/8 inches.
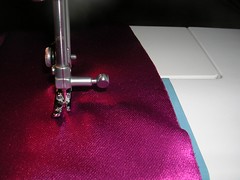
Then I sewed all around the hem so the line of stitching was at 2 and 3/8 inches.
I trimmed off 2 and a quarter inches of fabric, leaving an eighth of an inch outside the line of stitching.
About an inch at a time, I rolled the fabric over at the stitching line and then rolled it again to conceal the raw edge.
Alternating tiny stitches in the fabric and small stitches in the hem, it took me as I said, about 2 and a half hours to sew around the bottom of the dress.
Here's what it looks like on the outside.
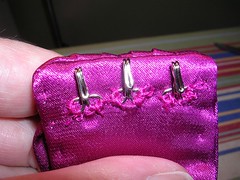
I sewed on the hooks and eyes for the halter top part.
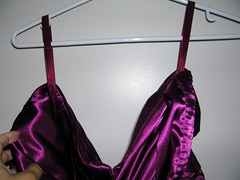
And I sewed on the hangers on the inside.
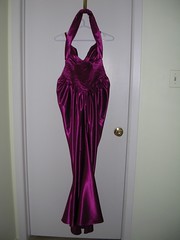
I'll try to get pictures of her wearing it at the prom! And now for purses...
Subscribe to:
Posts (Atom)