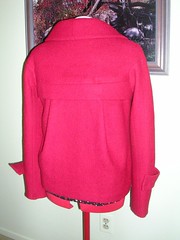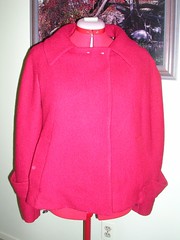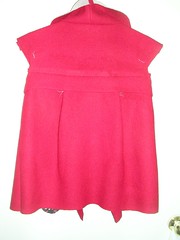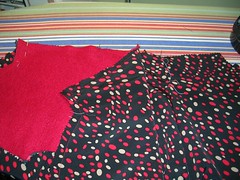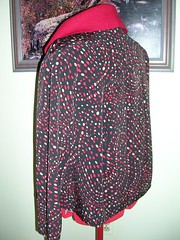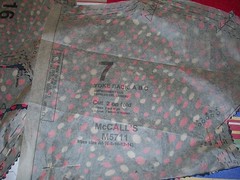
I'm done!
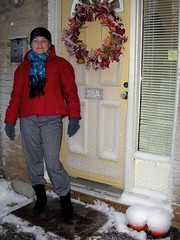
And just in time too, what with the snow we had last night. Yikes. Those are baby pumpkins under the snow on the lower right. It was really windy too and the snow stuck to the door. This shot was taken just as I was leaving for work at about 7:45 am.
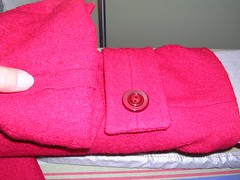
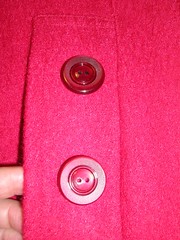
To go back to where I left off, here is how I sewed the buttons to the sleeve tab detail. I sewed them to the tab and the sleeve, through all layers, before I sewed the lining hem up on the sleeve. That way, I could push the needle in straight through all the layers of thick wool fabric and not catch the lining, nor worry about trying to angle the needle in vain.
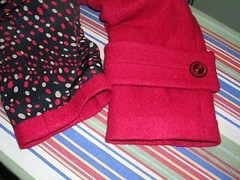
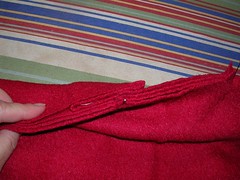
Here are the sleeves, from different perspectives, all finished.
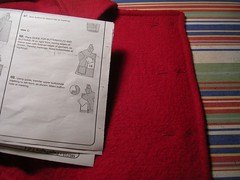
The pattern instructions called for a maximum of three buttons down on the short sleeved jackets (and only 2 down on the long sleeved version). They also called for a button to be sewed on the inside with a corresponding buttonhole on the inside of the flap. I decided to make four buttons down (making 8 to sew on for the double breasted effect) and not do the inside buttonhole. If it turns out that I need it, I will sew a large snap on the inside part of the flap.
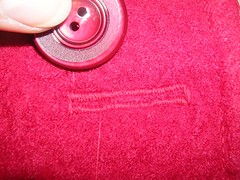
I decided to make the four buttonholes (it is only a faux double breasted) the old fashioned way, which is to say I knew where they were going and put pins in but I free-handed the zigzag stitching to make the buttonhole. The stitching was therefore a tad wobbly (this is actually the best of a bad bunch) but now that I have worn it, you really don't notice at all.
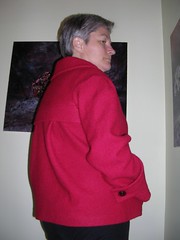
Here I am modelling it the night before, as the snow has started to fly.

Here you can see a hint of the dotted lining - so cute!
It was a pleasure to wear and really warm too! I am so pleased that I am going to get a lot of wear out of this jacket. It turns out I can fit a shirt and suit jacket under it but not the five layers for when it is 20 below. But when it is that cold, I will want something that covers my bum anyway. What next?
In which I make some clothes, expound on the virtues of the flat fell seam finish, and proclaim "you CAN sew your own clothes, and even wear them in public".
Wednesday, October 29, 2008
Monday, October 27, 2008
Boiled wool jacket, almost done
Almost done! I got some buttons on Thursday:
I looked at all kinds of red buttons, plain, patterned, matte, glossy. I looked at black buttons too and even metal ones but I liked these red buttons the best. They are not very contrasty and yet they stand out a little bit. I think I am going to have to do the buttonholes the old way, because the fabric is so thick my automatic buttonholer won't work on it.
I've sewed the inside and outside together and pressed all around the edges. I have sewed up the jacket hem but not the lining - that is the lining hanging down below the hem there which of course, it won't do after I've sewed it up.
I haven't hemmed the sleeves yet either. I think I'll wait to the end for that, as I want to make sure they are fairly long, to cover the cuffs of whatever I will wear underneath the jacket. It is heavy too! For such a short garment, it weighs a lot. That is partly the kind of fabric and partly the volume of the jacket with the pleats at the back. Next, more hemming, topstitching all around and buttonholes.
Sunday, October 19, 2008
Red, boiled wool jacket
It's funny how, even after 30 years of sewing and many of those years realizing that sleeves aren't so hard, I still put off making sleeves because they used to be difficult.
With a fully lined jacket, there are FOUR sleeves! And these are slightly different, in that they have a pleat at the top and a clip on the sides. Halfway between the top of the shoulder and the notch, there is a spot where you sew a retaining line of stitching and then you clip in almost 5/8 of an inch to the small dot. When you split the fabric at the clip, it makes for a square spot on the outside on the finished sleeve.
I haven't pressed this sleeve, nor have I unpicked the basting for the pleat, but you can see where the seam goes square on the front there.
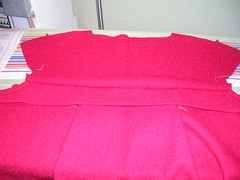
Here's what the back looks like, before the sleeves were put on. So cute with the pleats! And you can see I have marked with white thread, the small dots on the sleeve seam allowance, where they will be clipped for that square spot.
I decided to use the wool yoke in the back for warmth but I also put the lining fabric over it, for a uniform inside, non-stick finish, as well as additional warmth.
Here's the lining all put together. There is no extra band on the inside, like there is on the finished back outside. Now I "just" have to put the outside and the lining together!
Monday, October 06, 2008
Red, boiled wool jacket
Everything is cut out, the interfacing applied and I have started to assemble the jacket.
Here's the lining. It's polyester (most lining is that or acetate) and substantial so I think it will serve as a bit of a wind break. You won't see it unless I flash the inside of the coat but it's fun to know it's there.
The jacket will be fully lined - sleeves, body, pockets.
I am trying to decide how to make the back yoke. The pattern instructions call for the inner layer of the yoke to be the same fabric as the coat, so I have cut out two wool yokes. I also cut out one lining yoke on speculation. I think it will act as a wind break, sandwiched between the two wool yokes (which are more porous than the polyester lining). My conundrum is whether to put the lining on the inside layer instead, so the entire inside of the jacket is lining. Will the wool yoke drag on a sweater worn beneath the jacket? Why would the pattern makers call for the yoke to be made of wool on the inside, except for warmth? Will I screw up if I put the lining on the inside?
If no one has ever done this and I don't get any answers to my conundrum, if in doubt, I will do it the way the pattern says.
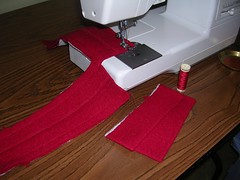
Here is my assembly line for some of the small pieces. I have made the "welt" pocket flaps and they are ready to be topstitched. The things on the machine are the sleeve tabs which then need to be turned right-side-out. I parked the red thread there because I have fifteen shades of red and I am using up some brighter stuff first, before I start the shade I bought for this fabric. And that's a good reproduction of the way this red looks - nice and red, tomato red. Not the pink-red you see in some pix.
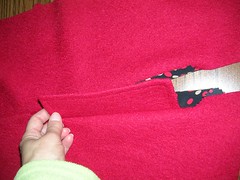
Here's the welt for the pocket sewn on and there are two pieces of pocket lining that I have sewn on and tucked behind it. The slash pocket is right in the front dart - interesting.
Here are all the layers for the back at the yoke. There is the back, its deep pleat, the band (folded in two) and the yoke. Six layers in two places.
Here's the back from the outside, before it is pressed. Too pink by half. Onward!
Subscribe to:
Posts (Atom)