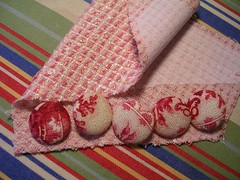
I made one button dark red to see what it would look like, thinking I could take it apart once I made it. Wrong! You can't get these things apart without wrecking them!
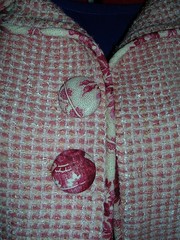
So, I either need to go get some more forms, or I could use the dark button at the very top at the neck. I probably wouldn't button the jacket all the way up to the neck much, and if I did, it would be okay if the button at the top was different from the other four. But you really can't put the dark button in the middle. That's my rationale and I'm sticking to it. Anyway, I can just get another set of forms the next time I am at the store.
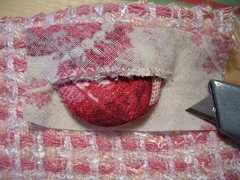
I took a scrap of fabric and ironed interfacing to the wrong side of it and then folded it over to make two layers. That's what the front of the jacket is like, with the front and the facing. Then I took a piece of the floral fabric and sewed it to the right side of the jacket scrap, trying to stay in a straight line with the weave of the fabric. That's hard to do on both sides. I used a zigzag stitch and went around where the buttonhole will be. Then I sliced open the buttonhole and put a button halfway through for a visual.
I turned the scrap over and pulled the floral fabric through the buttonhole to the other side - what will be the inside of the facing on the jacket. I played around with tucking under the tiny folds of floral fabric in preparation for hand stitching them to the facing. That's going to be a fiddly job! I think when I'm done hand sewing, I will reinforce it with machine sewing. I am lucky and can do that with this fabric because it is loosely woven and stitching just doesn't show on it.
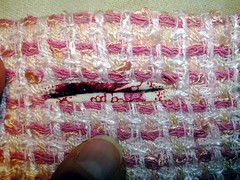
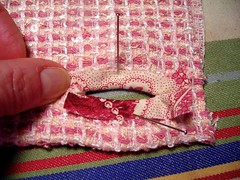
Here's what it will sort of look like from the right side or outside of the jacket. I haven't sewed the facing side. The buttonhole looks like a tiny welt pocket. Now to actually DO it.
6 comments:
Your button holes look great! I have practiced them but I haven't put them on a garment yet.
Great job! I love covered buttons, I just have not attempte them yet. Thanks for sharing those pictures.
That looks great.
I think you should put the dark button right at boob level. Ha ha.
Your buttons and button holes holes look great.
I made some buttons and bound button holes for one of my jackets and it was well worth the effort and time. It's a nice added touch when they are done.
http://annsfashionstudio.blogspot.com/2007/08/jacket-vogue-2047.html
Gorgeous jacket! I came over from Lorna's site but I actually found you through another site totally unrelated to sewing! I cannot for the life of me remember what it was but I think it was through some one on the Canadian Blog awards website. Lorna and I met through PatternReview and I get the chance to visit her occasionally when I visit my daughter at Carleton.
Anyways - good sewing!
Many thank to all of you for your words of encouragement. Since it promises to rain today, I may get the other three buttonholes finished today and wear the outfit on Monday!
Post a Comment