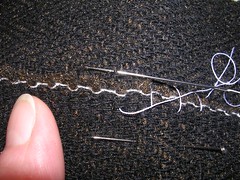
First, I turned up the selvage of the left over piece of fabric, so you could see the difference between the "hem" and the background. The selvage has a white thread running through it so if I had thought more, I would have used pink thread or something for the fake hem stitches. After anchoring the thread in the hem (the turned-up part), I take a stitch in the skirt or body fabric. The needle is still in the taking-of-the-stitch position.
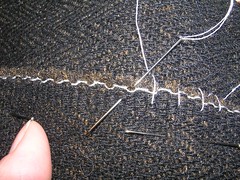
Next, I put the needle under the edge of the hem and bring it out far enough below the raw edge (in this case, the selvage edge) so the thread won't end up pulling out of the raw edge. I didn't have to worry about the hem stitch pulling away from the loose threads on the purple coat because I had previously stitched lining pieces to each coat piece and so I had in effect, a line of stay stitching running all along the hem.
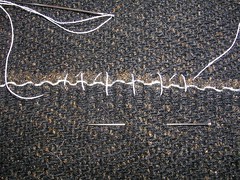
When I pull the thread out and get set to make the next stitch, this is what it looks like. Effectively, what you see from the inside of the garment on the hem are small vertical stitches. The stitches are at an angle behind the hem. On the right side of the garment, you shouldn't see stitches at all, because you should only have taken a very small bit of the fabric in each stitch. I think the next time I hem something by hand, I'll do a blurb on it so it should look better than this!
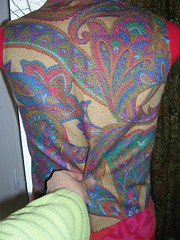
The next thing I decided to do with my dummy is retro-fit some vests with a back elastic. I really like wearing vests but I have wished for some of them to fit a little more closely. Now that I can work on a dummy, I can get the better fit.
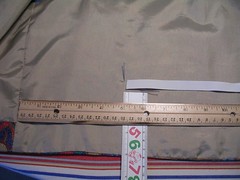
By putting the vest on the dummy, I was able to gauge where I wanted the elastic to sit on the vest. Then I measured each side and up from the bottom so the elastic casing would be even across the back. I stitched a rectangular casing where I had marked it on the vest.
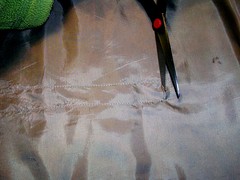
With the casing stitched, I cut a slit in the lining so I could insert the elastic.
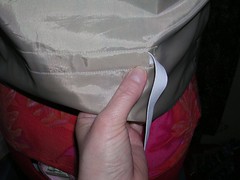
Because the elastic was a half inch wide, it was stiff enough so that I could just slide it into the casing and work it along by itself, without using a bodkin or anything to pull it. This way, I only needed to make the one slit in the lining.
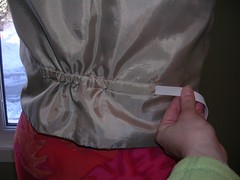
Once I had worked the elastic to the other end of the casing, I stuck two pins in it to anchor it (you can just see them in the photo). I put the vest on the dummy inside-out and pulled the elastic until the vest fit the waist more closely.
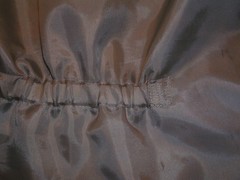
Then I cut off the excess elastic and zigzag stitched the slit closed, catching in the elastic at the same time. I also zigzag stitched the other end, even though it didn't have a hole in the lining, so that it would match the first side.
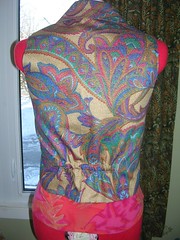
There you go - finished vest on the dummy, showing the gathering.
3 comments:
Julia, we miss you! I hope you're just too busy having fun to blog.
Bingo! Your lovely paisley vest convinced me I should brag about my paisley post! Do come take a peek or two. Would that I had time for fine sewing; I appear to married to a moster database!
Thanks Zoom! Explanations in the next post.
Granny J, welcome to the blog (such as it is).
Post a Comment