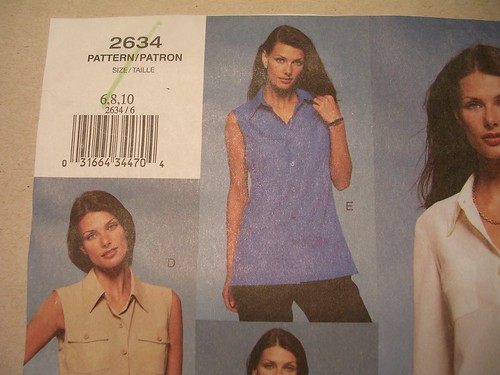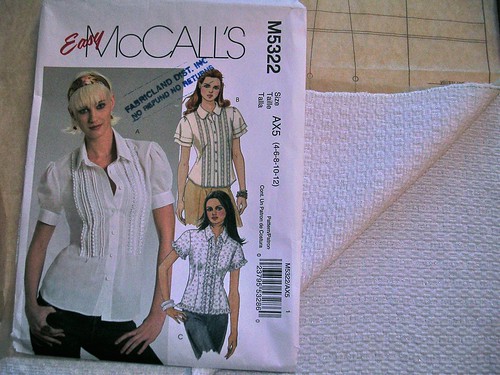
I've had this pattern for a little while but never made it. It's cute. I rummaged through my stash and hauled out this white stuff that I had bought at Darrell's years ago. It is a weave but it feels a little like a knit (it is textured), and it has a fine silver thread that you can glimpse occasionally. It also ravels quite a bit and is one of those fabrics for which you keep your lint brush always at the ready on the ironing board.

I think it might have been a remnant because it was only through clever cutting that I managed to get short sleeves out of the piece I had.
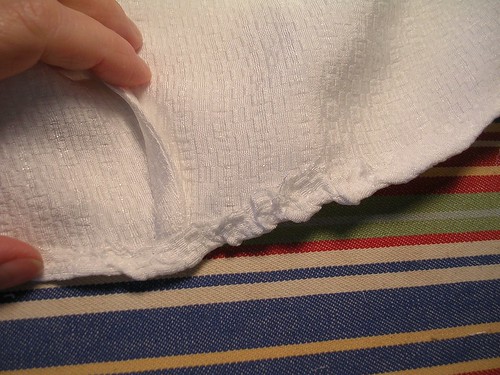
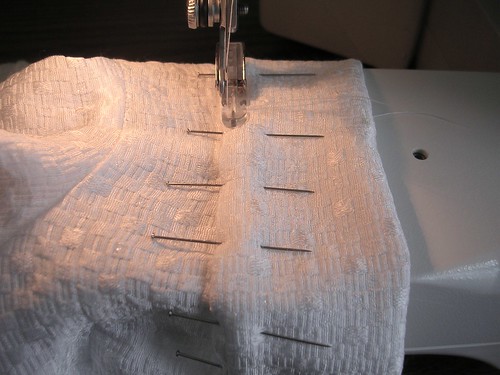
I decided on French seams for the shoulders and side seams, to keep the ravelly ends in. Around the armholes, I trimmed one side (the shirt side) and folded the sleeve-side-seam allowance over to contain the ravelly bits and then sewed that down with a zigzag stitch. Yes, it would be easier if I had a serger! But I don't.
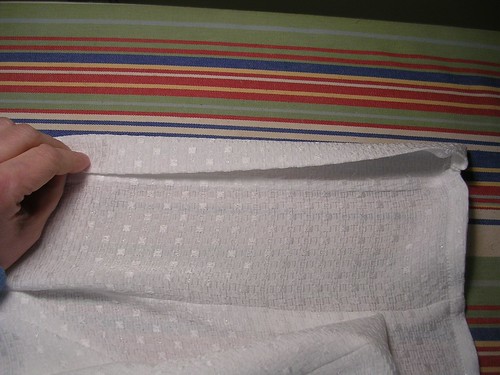
The front bands are sewn across the bottom, right sides together, to make a nice square finish. But instead of hand sewing the band to the wrong or inside, I sewed it first by machine, wrong side to right side, then I sewed the square bottom, right sides together, THEN I folded it over to the RIGHT side of the blouse (the outside) and sewed it by machine with a topstitch.
It's a bit faster that way -- no hand sewing -- and it gives it a professional or maybe commercial look. Anyway, I like it and since I learned to do this with all the jean jacket bands I have sewed, I now do it with all the other bands I sew.
I also used the same technique on the bands that hem the slightly puffy sleeves.
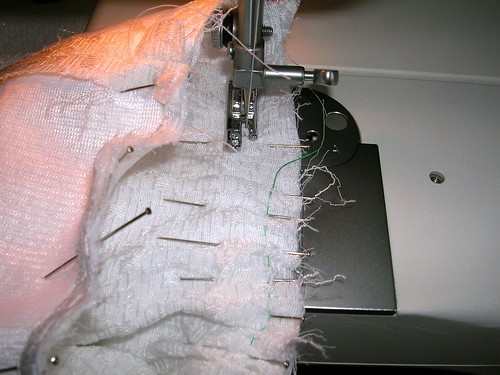
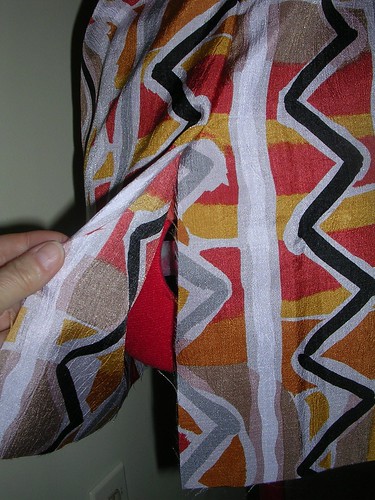
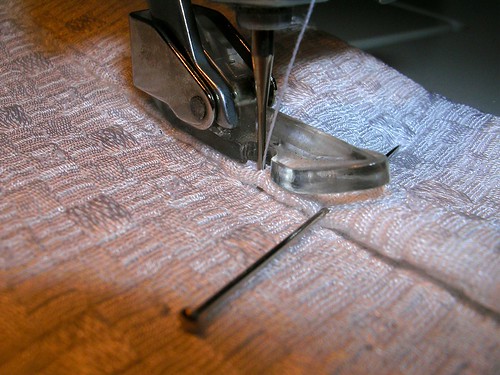
Here is the puffy part of the short sleeve being sewn to the band and you can see how much the fabric ravels. The green thread is there to gather up the puffy part.
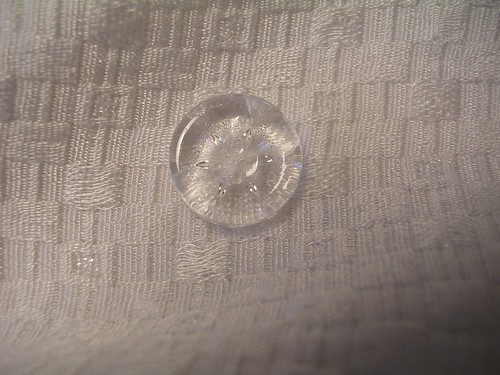
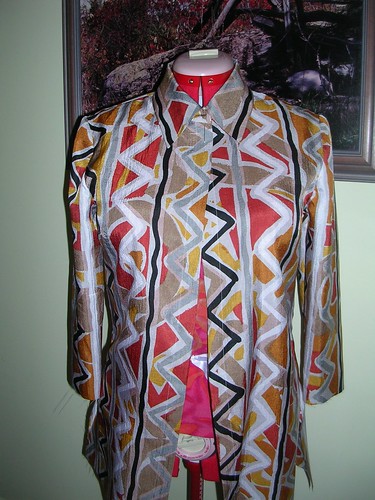
I have yet to go get buttons. This is a single button I have in my button box. It has no mates -- too bad because it is just like what I think would go best with this blouse. The silver thread makes the blouse sparkle a tiny bit but silver buttons would be way over the top. This one is a clear plastic button with a flower motif embossed on it and so it "sparkles" just a little bit. Plus, it is a bit bigger around than most of the shirt buttons I normally use and I think that would suit this fabric, since it is textured and not sleek.
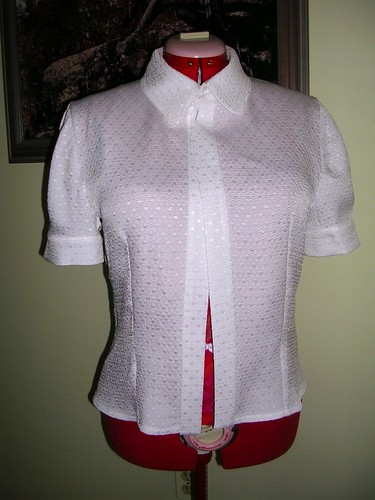
Here is the blouse, awaiting my trip to the button store. Cute!