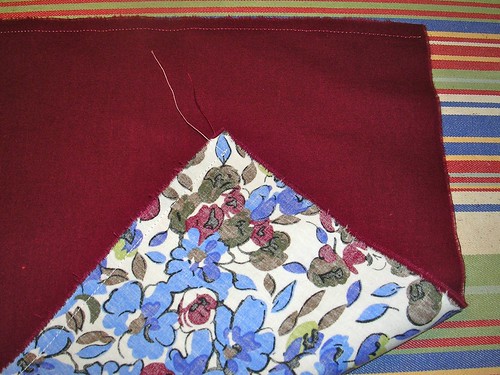
Then I sewed them right sides together along the long sides, using different coloured threads for the different sides.

I like to work like an assembly line, so after I sewed all the long seams, I pressed them all open. This made the seam flat for when I turned the mats right side out.
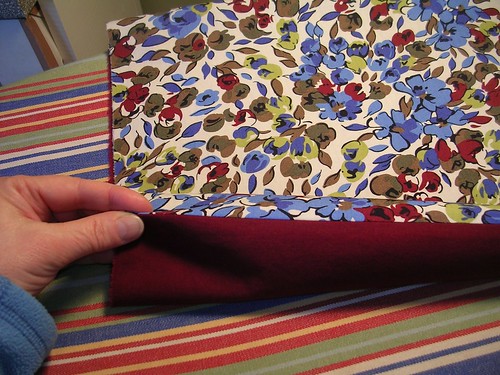
Once they were right side out, I pressed the long seams flat.
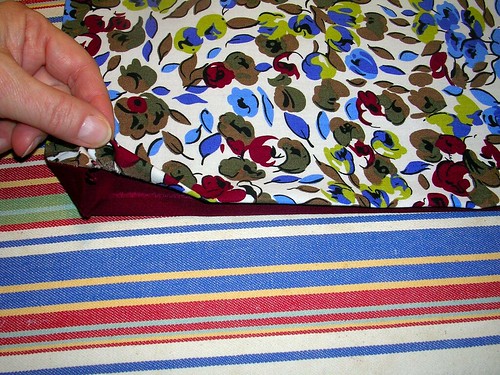
Then I pressed the raw edges of the short sides of the mats under so that they lined up for top stitching.
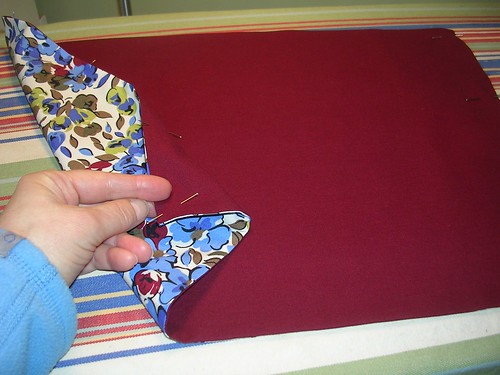
Doing it this way meant that I didn't have to line up ALL the edges and I could get a cleaner line along all four edges for the top stitching. I then top stitched all the edges very close to the seam or the opening (as the case may be). I also stitched in 5/8 of an inch from the outer edge, to give the mats more substance. I decided to go with a flat placemat and not a quilted one. It's a choice. All of my own mats are quilted but I think the flat ones are more elegant.
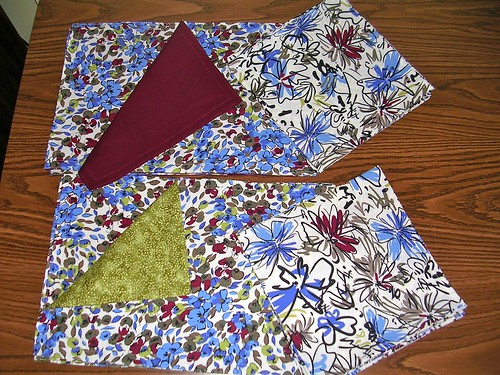
Here they are. I made all the napkins and used up every inch of that fabric (they are large napkins). Then I made the reversible placemats in the two colours for the two different recipients.
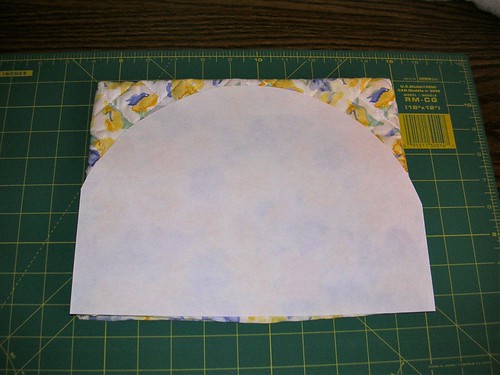
My cousin had asked for a tea cozy so I pulled out one I made but don't really use (I nuke my tea when it gets cold). I thought it would look nicer with a rounded top so I drafted a template for that.
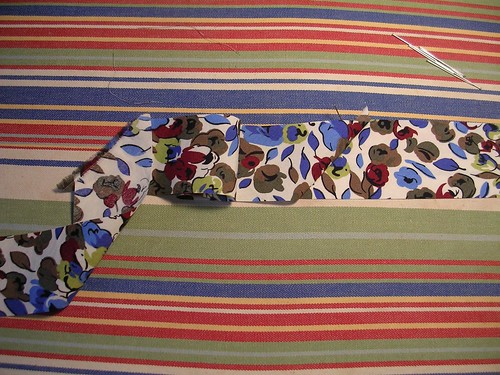
I only needed a little bit of seam binding so I cut a strip of fabric in several diagonal pieces using my self-healing mat and rotary cutter and stitching them together.

This recipient wanted a burgundy colour scheme, so I machine quilted the two fabrics together with the burgundy on what was going to be the outside. It's always surprising how long that takes!
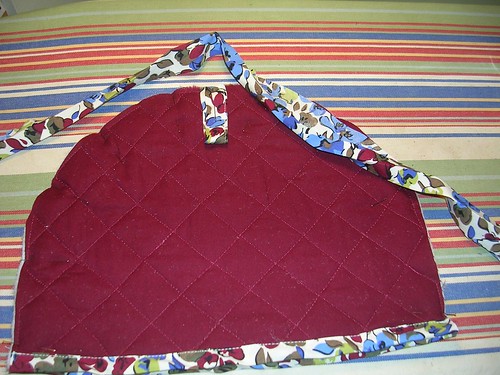
I put a little loop for a pull on the top and stitched the seam binding on one side by machine.
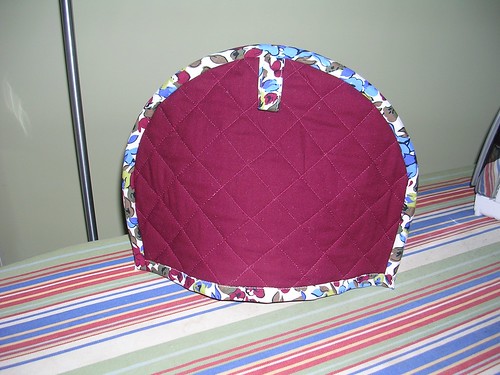
I stitched the second side of the seam binding by hand, so the machine stitched line would be hidden. I think it looks pretty good myself.
I think I'll still make some potholders because I have some scraps left over but I'm already wondering what project to do next.
3 comments:
It all turned out just lovely. I really like the blue print.
I have watched while my sis made place mats and now I understand why she had some trouble.
I can show her some shortcuts you used and patterns you used. Thank you.
Thanx Terri!
You are welcome for the tips Tommy!
Post a Comment