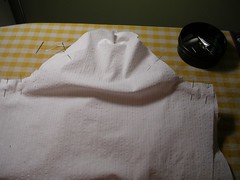
Make sure the fabric pieces are right sides together. I use lots and lots of pins rather than basting, mostly because I hate basting. I shouldn’t but I feel basting is a waste of my time in most cases.
I do baste some things (I can’t think of anything right now) but not sleeves. I figure if use enough pins, I can get that sleeve as flat as humanly possible to the shirt body.
Sew the sleeve on, going really slowly over the pins so you don’t break a needle. Once the sleeve is sewed on, trim the seam allowance of the SHIRT part, but NOT the sleeve part. You will need the width of the seam allowance on the shirt to fold over the raw edge of the shirt side of the seam allowance. Now press the seam allowances toward the shirt to make the seam flat.
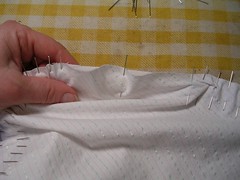
On the other flat fells, I iron the folded over seam allowance. This is impossible to do properly on a sleeve seam so don’t bother. Just fold the seam allowance over to enclose the raw edge, tucking in the excess and pinning the flat fell as you go. I put the pins in lengthwise, knowing I will remove them as I sew.
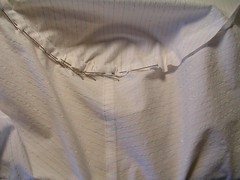
The folded over part bunches here and there and will not look perfect when you are done, BUT it is on the inside and won’t show so it doesn’t matter. I suppose you could drive yourself crazy trying to make this part perfect but my life is too short for that.
Carefully sew down the flat fell around the armhole seam. If you look at most men’s shirts, they are sewed like this and look pretty good on the outside when you are finished.
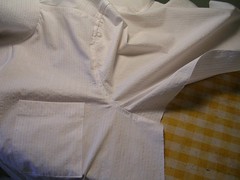
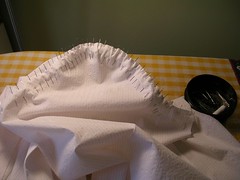
Now sew the underarm seam all in one go, down the sleeve and the body of the shirt.
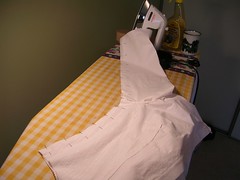
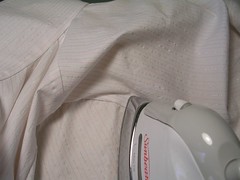
And don’t do what I did in the picture and leave your mug of tea on the ironing board. When you get carried away with ironing (and we do sometimes) that mug will tip over and then, as my mother used to say “You’ll be sorry!”
Make a normal seam, right sides together. Press it open. Don’t forget to press it on the outside too, using the clapper, for a nice flat finish. On the inside again, using a sleeve board because it’s easier, turn under each side of the seam allowance to make that modified flat fell. I suppose you can do a real flat fell but I just find this method easier and it looks okay too. Press the folded seam firmly and use the clapper to crease the edges really well. If you do this, you shouldn’t have to use pins to hold the seam allowance down as you stitch down the flat fell.
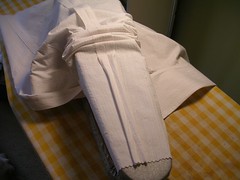
Turn the sleeve right side out once you are done. Start at the shirt end (the wide end) and work your way into the narrowing tube of the sleeve as you sew down the flat fell. This looks tricky but it isn’t as difficult as it looks. You just have to be patient and slow and use all your fingers to make sure the fabric goes smoothly under the presser foot and needle and doesn’t get bunched up so you are sewing through the wrong layers. As you sew, pause frequently to feel under the fabric and smooth things out. And every time you pause, make SURE you leave the needle down in the fabric, otherwise the fabric will get pulled out from its position under the presser foot and you will have loose thread bits and get really aggravated.
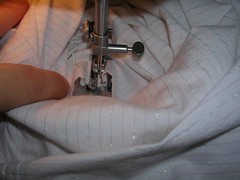
In the above picture, I have sewed down one side of the seam allowance, making the modified fell, and I am at the cuff end of the sleeve, about to turn around and sew back “out” to the shirt hem.
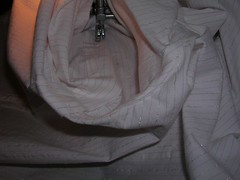
In this photo above, I am sewing my way out of the sleeve and am near the armpit of the seam.
Once you are finished, you will be so pleased with yourself that you will want everyone to see it.
2 comments:
i like this fabric
It's just plain old corduroy but I really do like to sew with cotton. Haven't decided my next project yet!
Post a Comment